While up in Jackson, NH for a girls weekend we spent Saturday afternoon on the couch snacking and chatting. Does it get better than that? Quality time with your girlfriends is a treat that is hard to compete with. No big party or lavish dinner could ever compare to just hanging out uninterrupted with some of your closest friends.
In addition to a lot of catching up there were also mini makeovers – which was super fun for yours truly! We used the same set of skincare and makeup products for all the ladies (4 ladies in total!). With a couples tweaks, the colors were adjusted for the different complexions. Below is a list and description of what we did. AND some before & after pics
“Everyday makeup” recipe:
Started with a clean face, of course!
1. Moisturizer. A good daytime moisturizer. I used Bluemercury’s m-61 hydraboost moisturizer. It’s just the right texture – not too heavy/not too light. Paraben free. And serves as a silicone-free makeup base, score! I typically use 2 pumps but depending on the gal, I used more or less judging on their existing hydration level (in other words, if I found dry patches, we used some extra). Lots of gentle patting to blend it in all over the face and neck
2. Eye cream. I used Bluemercury’s m-61 hydraboost eye cream on all the ladies. Usually 1 pump is enough for both eyes. Dryness under the eyes is not a good canvas and it’s always good to use a designated ‘eye cream’ for that sensitive area. I love the m-61 brand because it’s hydrating without being greasy, paraben free, and the handy pump is travel friendly / hygienic
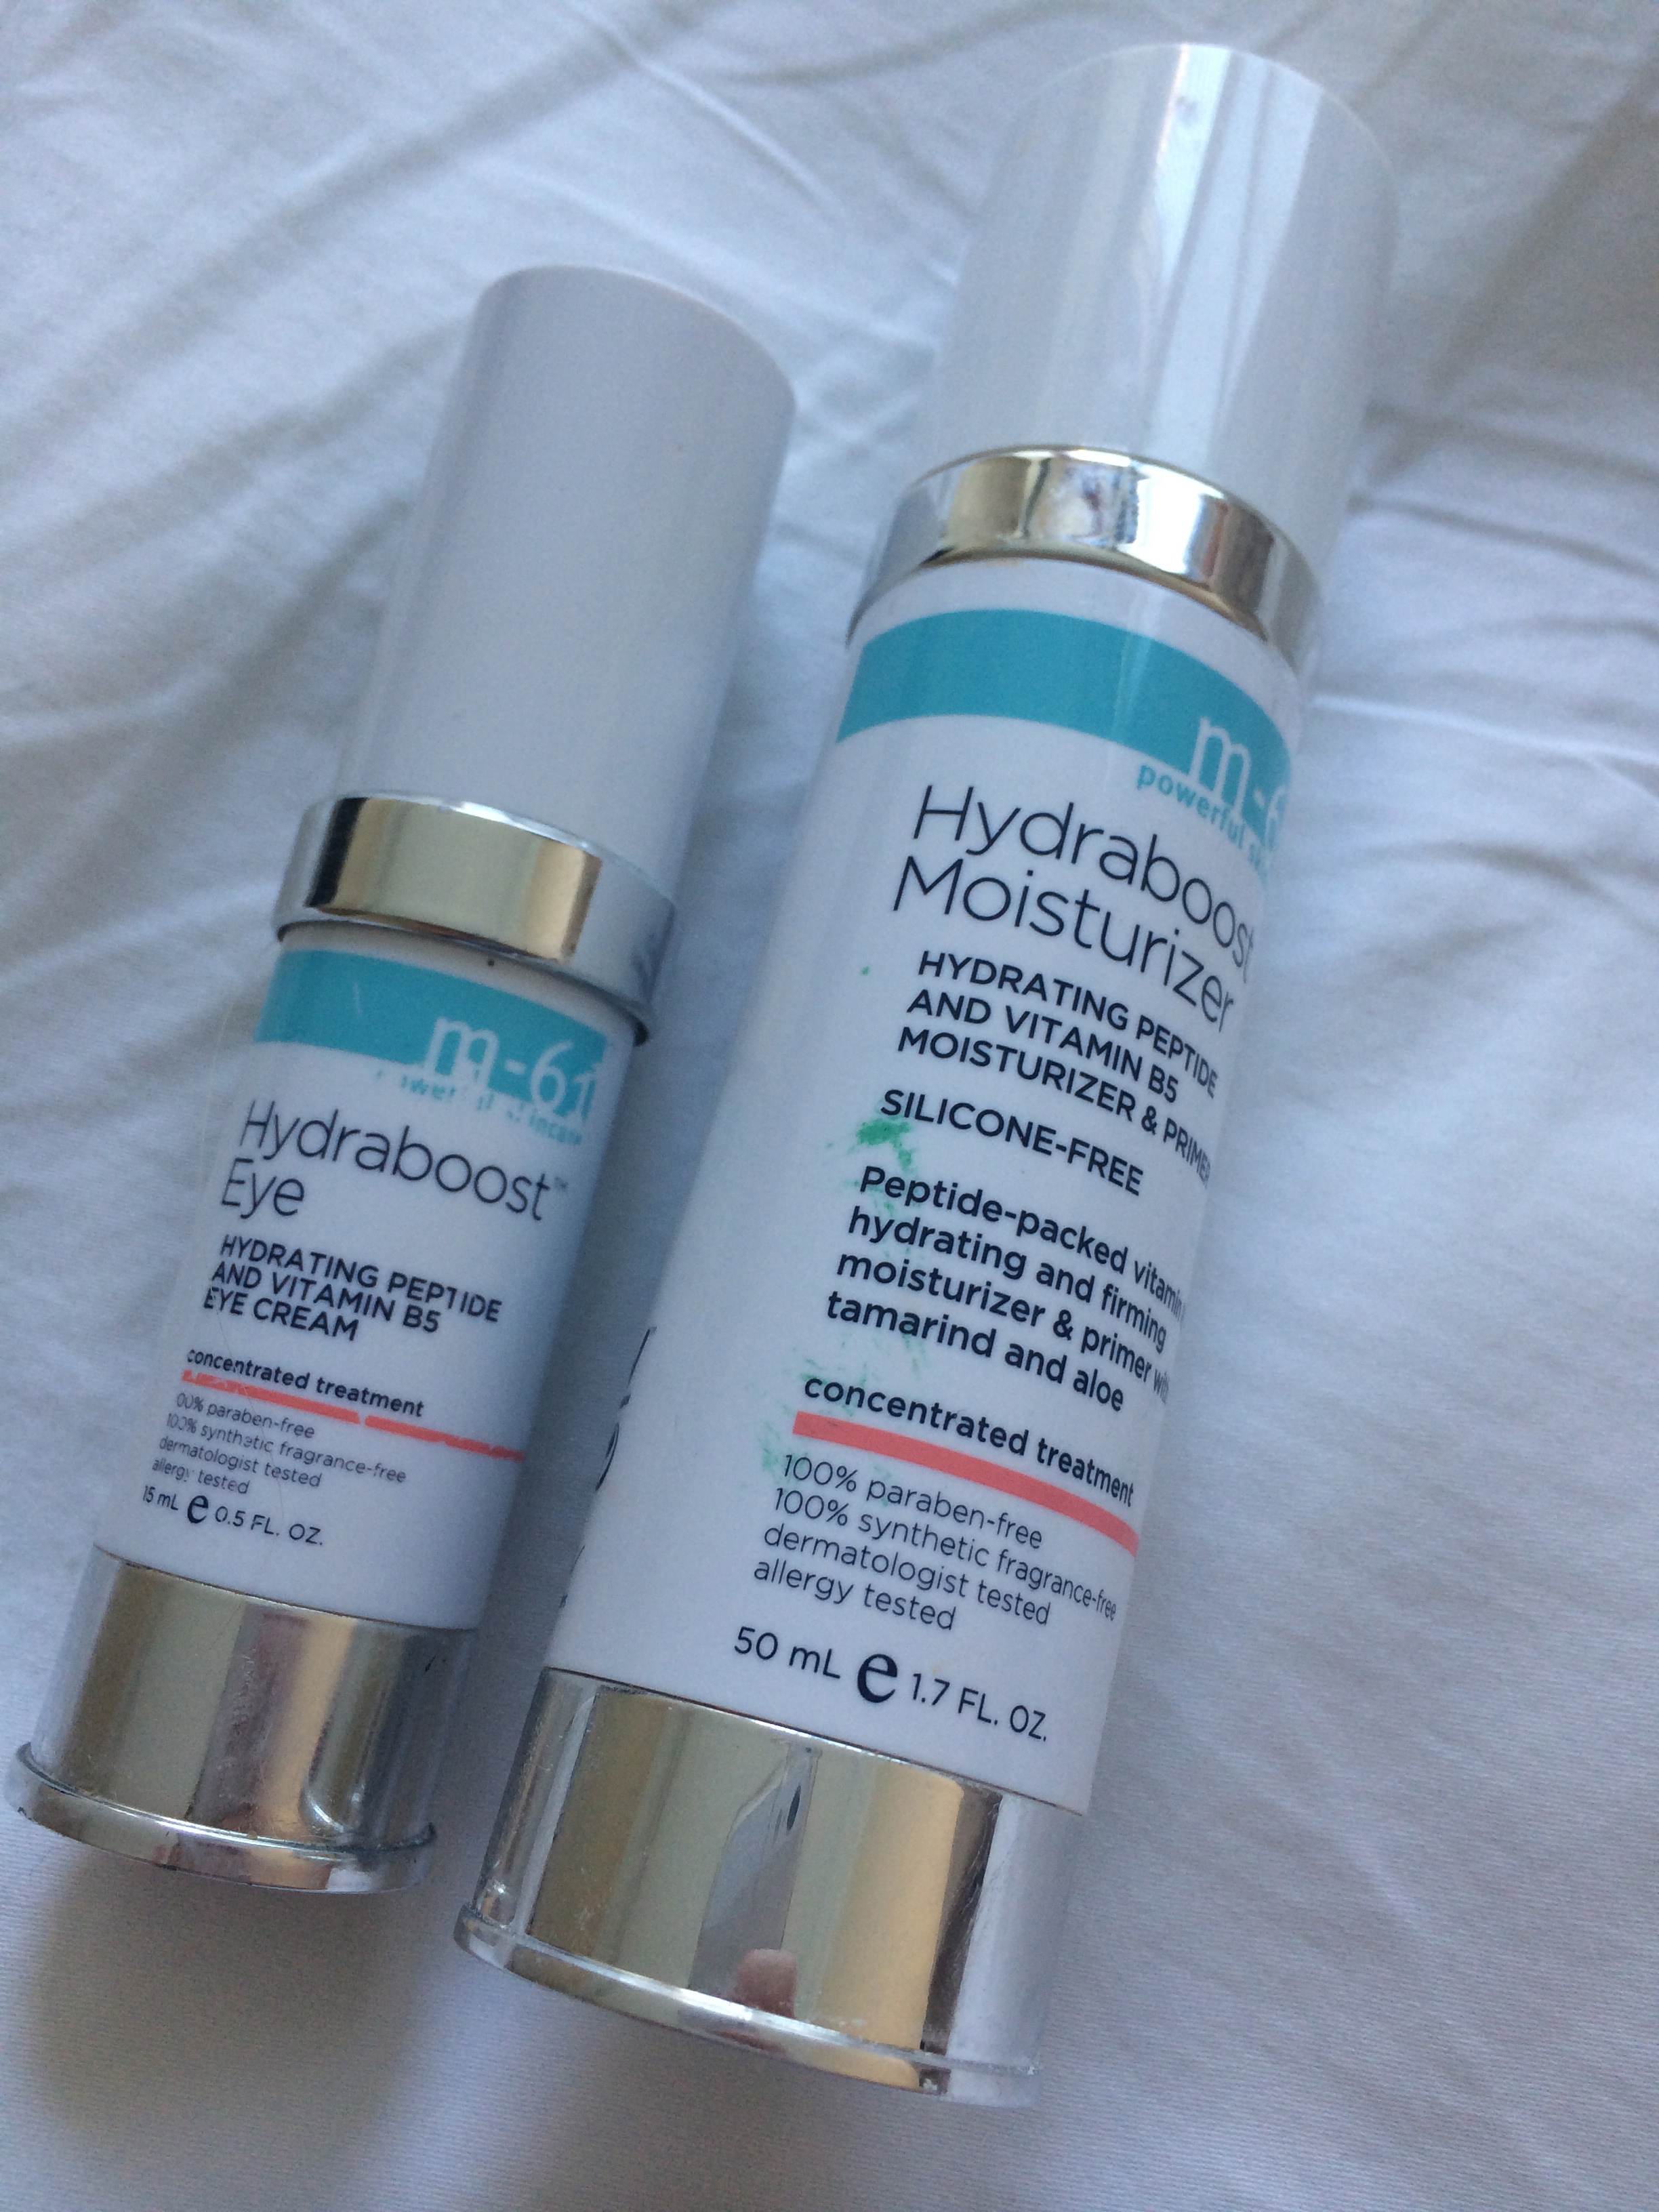
m-61 hydraboost eye cream and moisturizer, the perfect pair
3. Foundation. Now that our canvas was prepped – time for the foundation. Depending on the lady, some hadn’t worn foundation before and some swear by it. This foundation was definitely not a match for everyone’s skin tone which was risky – but I used moisturizer to dilute it – and because we were applying bronzer and blush at the end, I could take some liberties with a slightly paler foundation. I like this new foundation by YSL – it’s their new FusionInk foundation that’s been getting a lot of good reviews. It does have good lasting power (24 hrs – is the claim. I think that’s a bit of a stretch!) – but it gives great coverage – they call it “soft matte” – without being heavy or cakey. It feels super light on the skin. I used a couple drips just to even off any discoloration and start with an “even canvas”
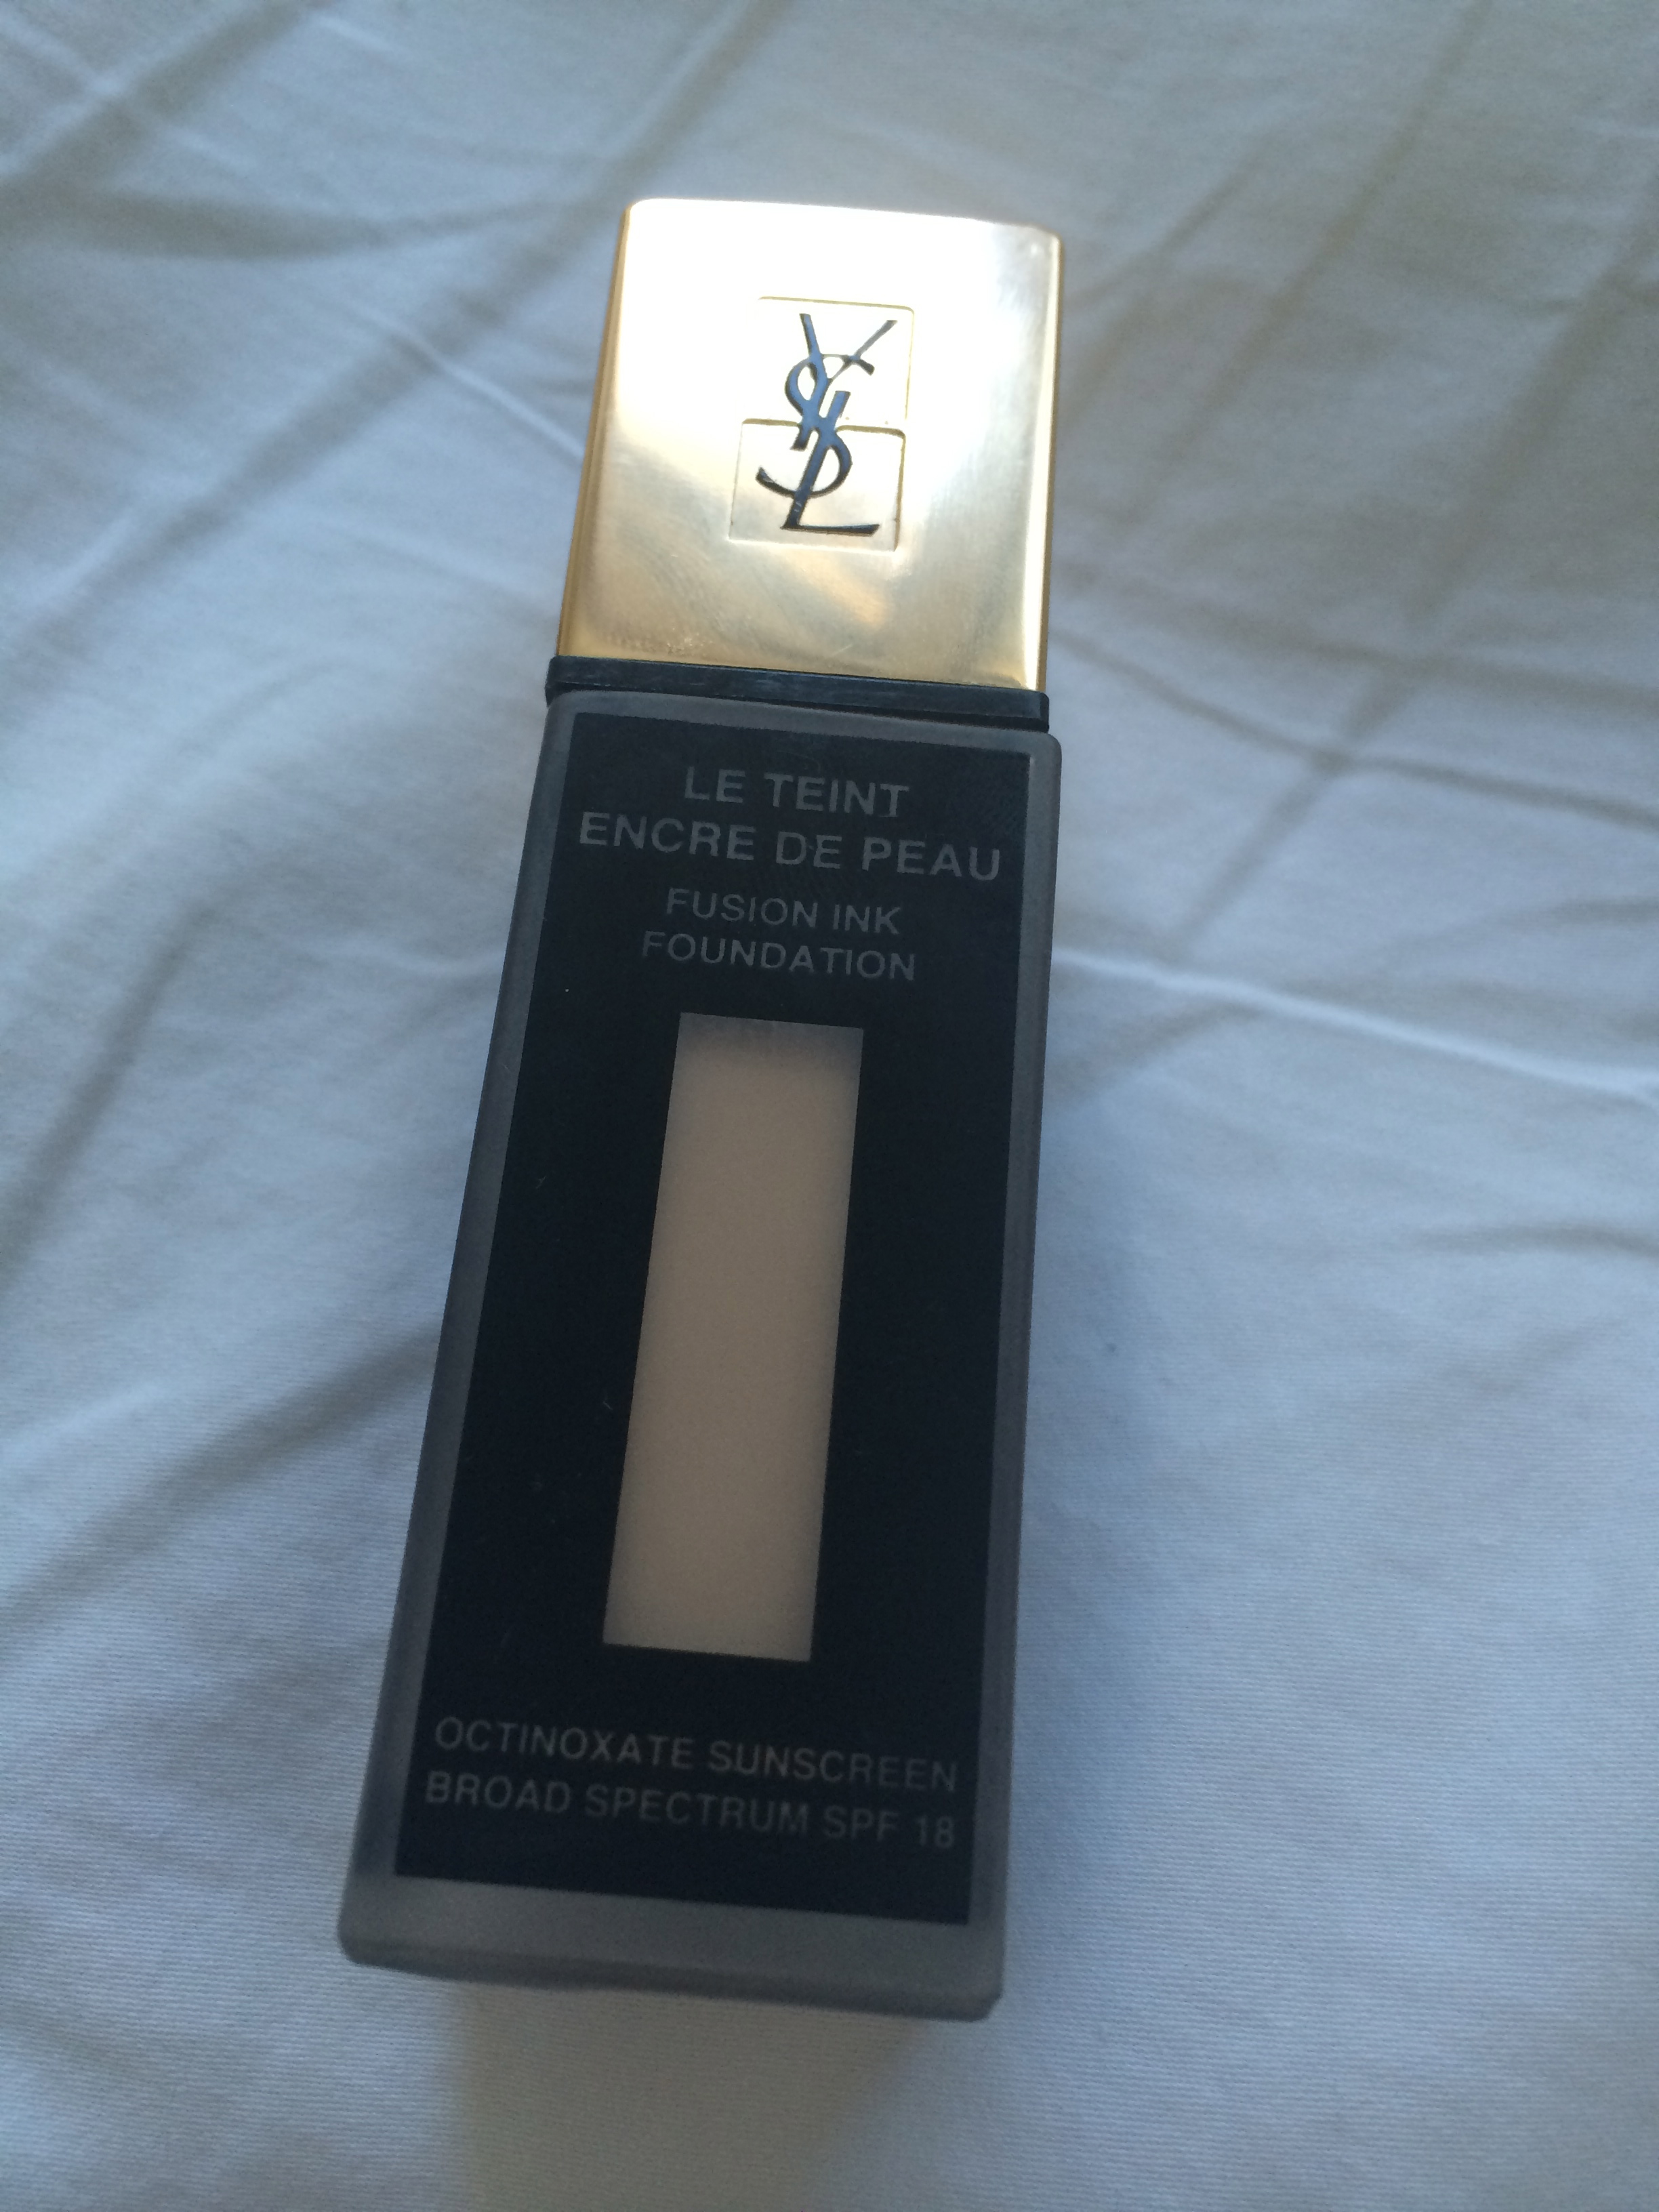
YSL’s new FusionInk foundation. Great coverage, not heavy
4. Spot treatmeant with Eye Brightener & Concealer. Since I’ve had dark circles since birth, I’m almost certain I’ve tried everything to mask them. I have many favorites in this dept. But my latest love is the Eye Brightener wand by Bobbi Brown. It has a flesh tone to it so blends really well and can double as an eyeshadow primer. This looked nice on all the girls. Next, we did a little spot treatment with NARS radiant creamy concealer in Vanilla. Side note, I forgot my all time favorite concealer Clea de Peau Beaute concealer which is superb for the under eye area. But this one by Nars is great, does the trick (and much more afforable). Again, was able to get away with a lighter shade because I made up for it with added bronzer. Only a couple of light dots needed under the eyes and on any blemishes – lightly pat with finger tips to blend
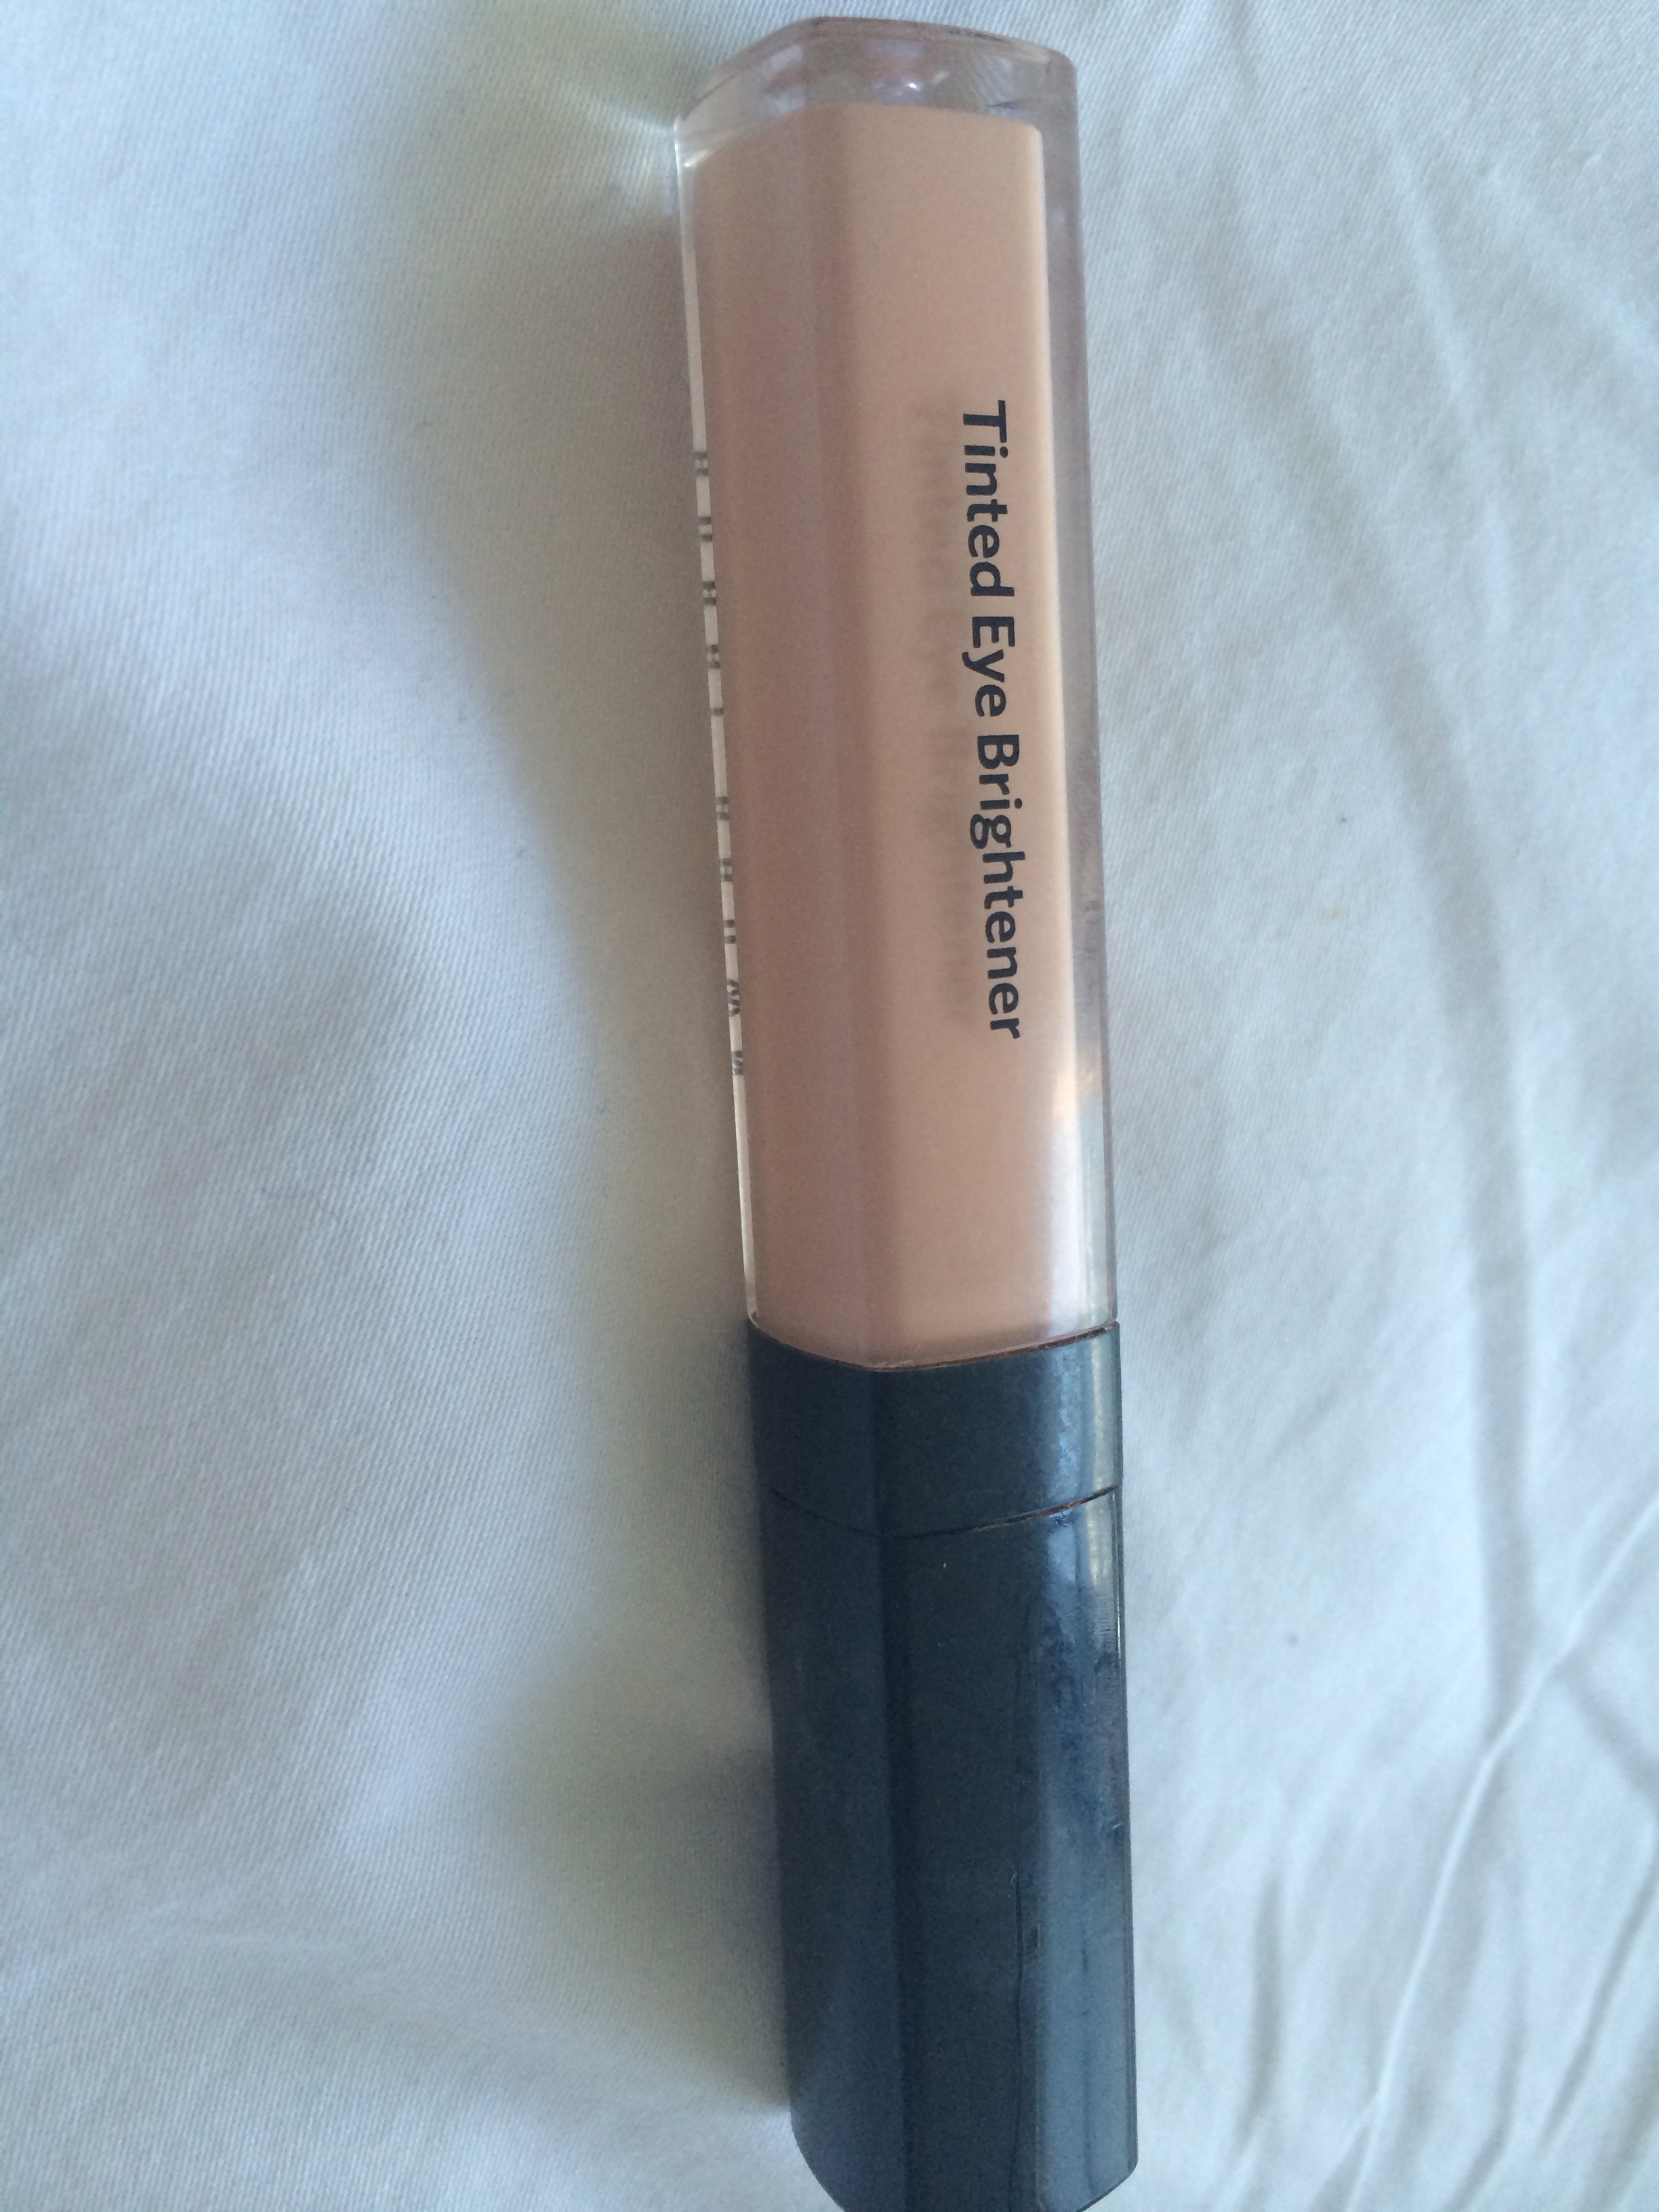
Bobbi Brown eye brightener wand, goes on first – wear under concealer
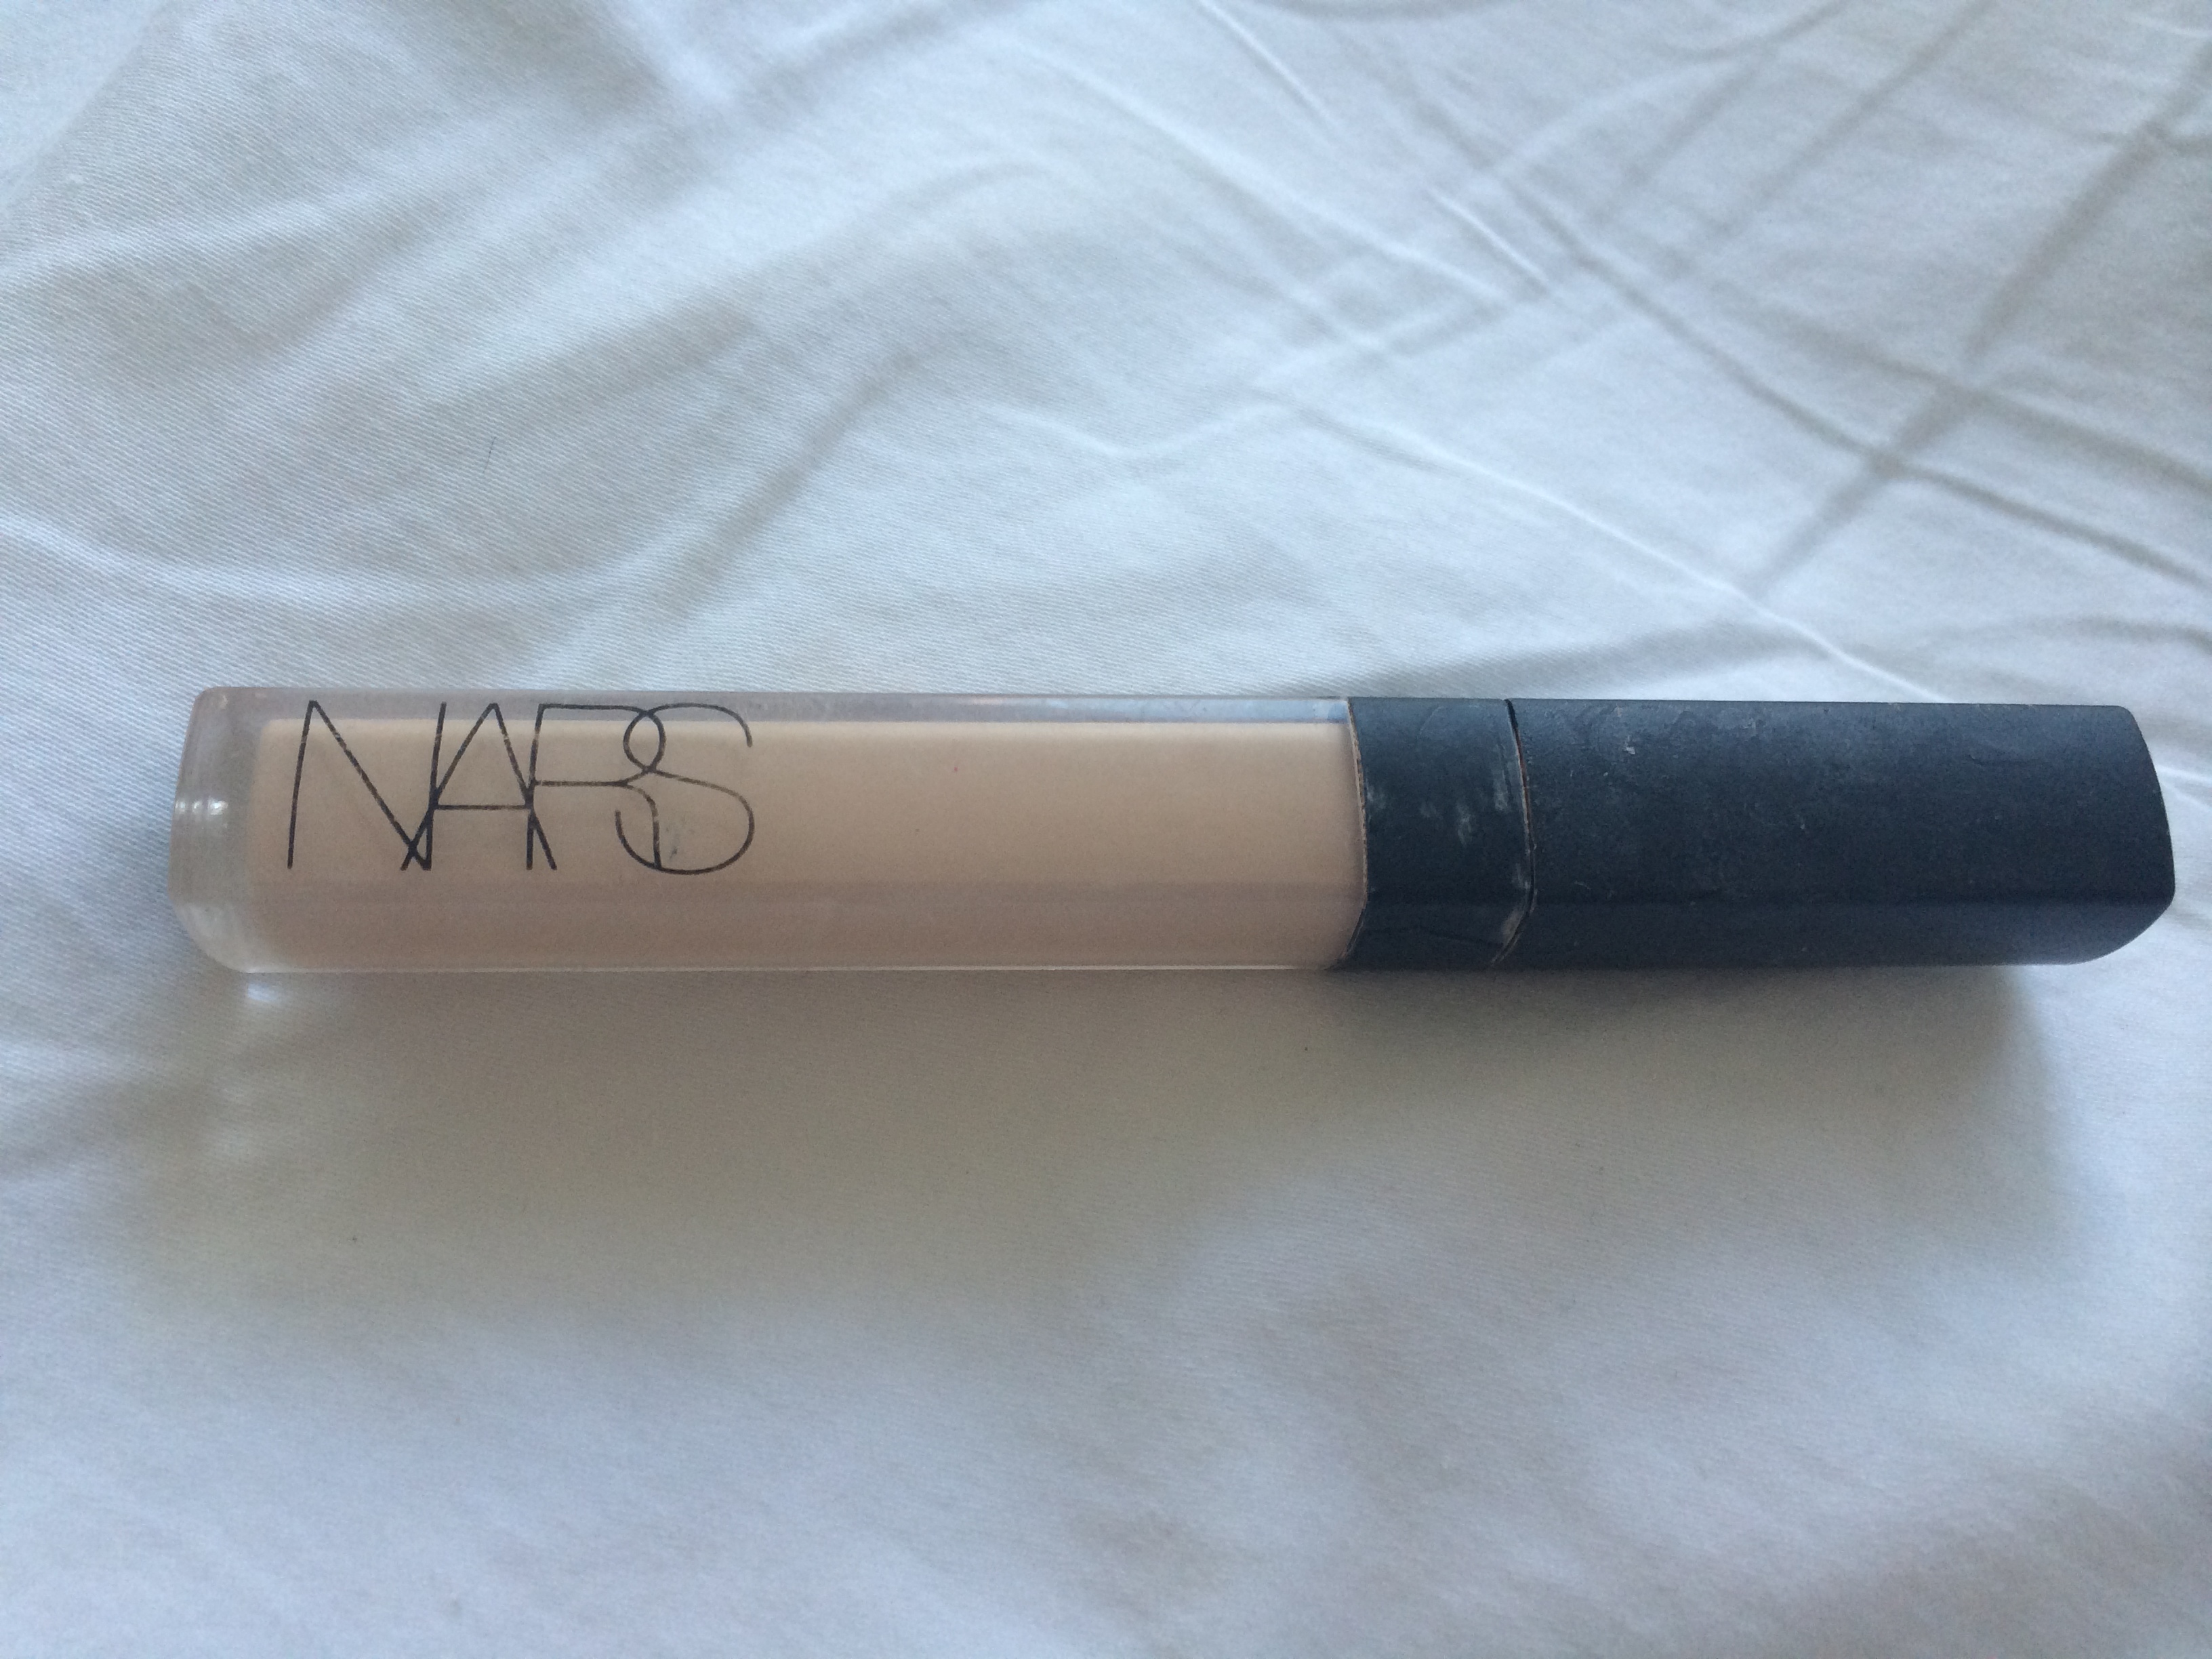
Nars concealer – great for undereye coverage and spot treatment to cover blemishes
5. Eyeshadow. This was the first time I tried this eyeshadow palette and I loved it. Microsmooth eyeshadow palette by Sephora. A great combo of colors – I combined the lighter shades for all over the lid. I used the dark shades towards the outer corner to help open the eye. Also, a nice sweep of the lighter colors on the brow bone. I used this lovely brush by Bobbi Brown called the “eye sweep” brush to apply
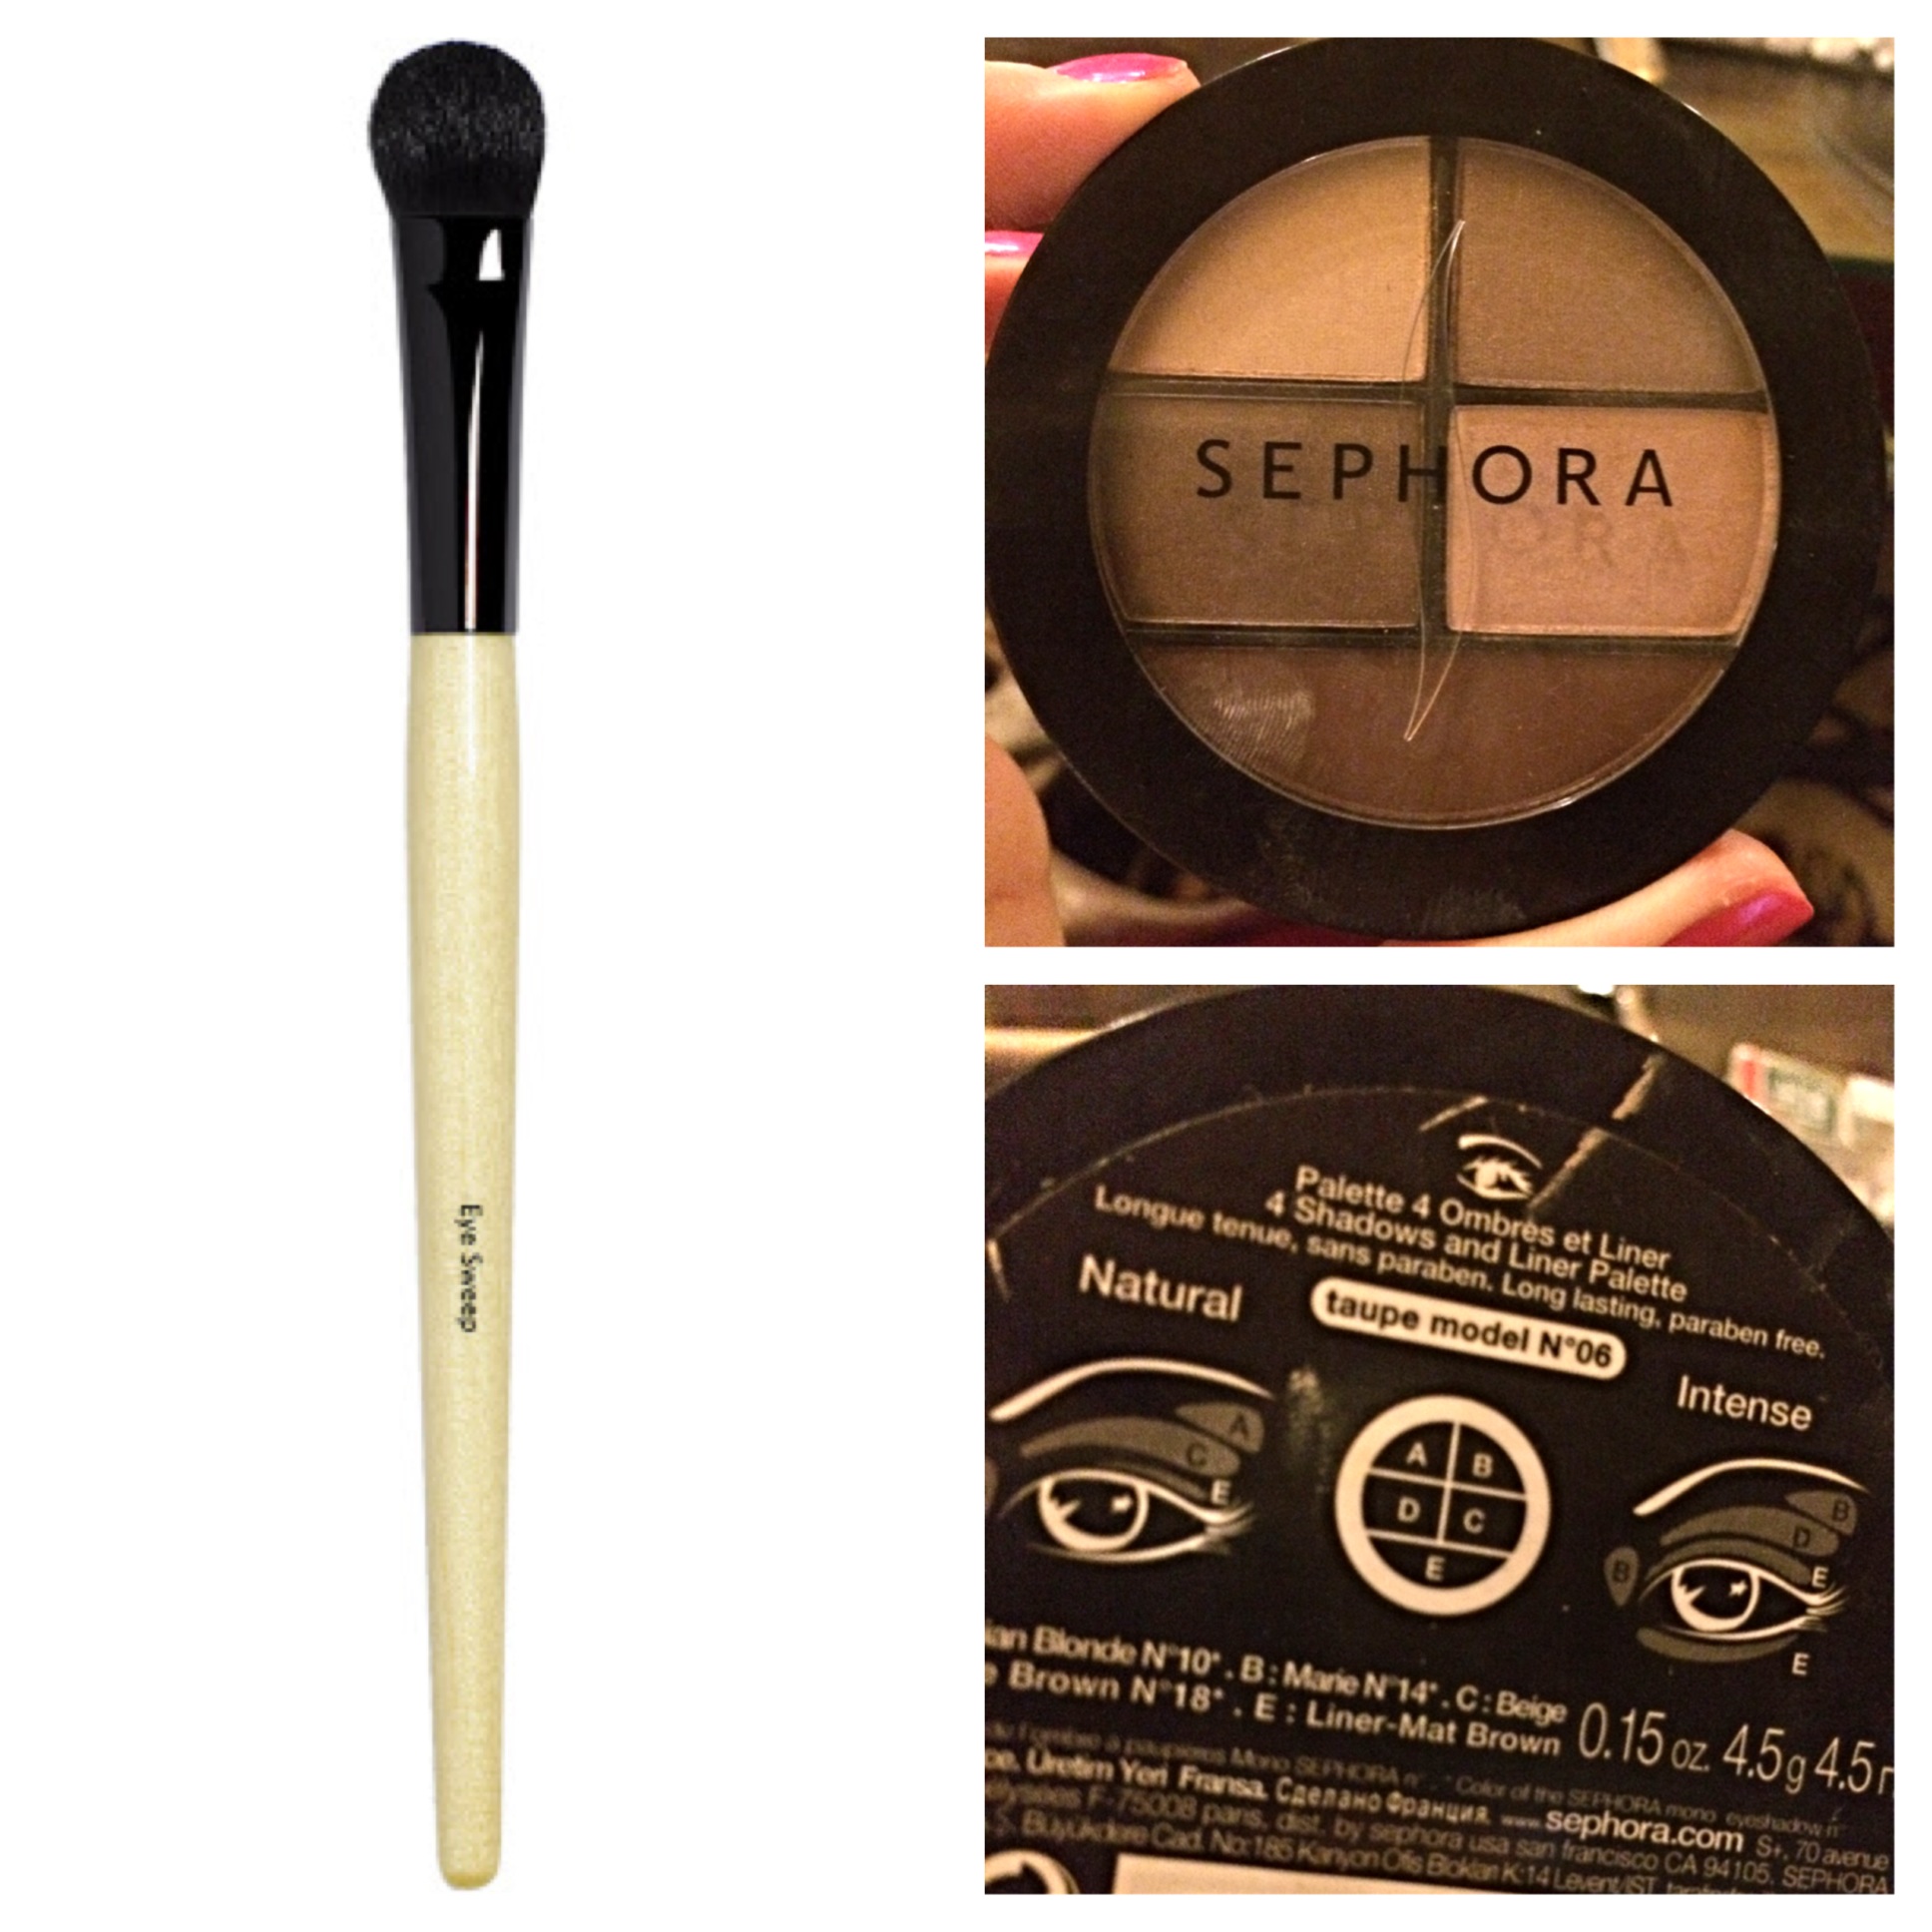
Bobbi Brown eye sweep shadow brush and Sephora brand eyeshadow palette
6. Eyeliner. I only had 1 on hand but this baby did the trick. Bobbi Brown’s long wear eye pencil in Smoke. Because it’s a pencil I was able to vary how dark it went on. In other words, I pressed a bit harder if I was going for a darker line (I did this for Ashley who was a more olive complexion and darker hair). I lined the upper lid and lighter on the bottom – used more of a light dotting motion under the lash line. I always brush my finger tip ever so lightly over the bottom line so it doesn’t look so dramatic…blending it helps make it more natural vs. a stark line

Bobbi Brown long wear eye pencil – we used ‘Smoke’ – it goes on nice and smooth
7. Mascara. I brought out 2 different – I was disappointed to find that my Benefit’s “they’re real” mascara was chunking out a bit (might be because my sample is almost out) so I swapped to a tried & true Diorshow Iconic waterproof mascara. I put multiple coats on each girl. I’m big into mascara…a few coats per eye, it makes a big difference. Once applied, I typically dab lashes with a tissue to get off the excess
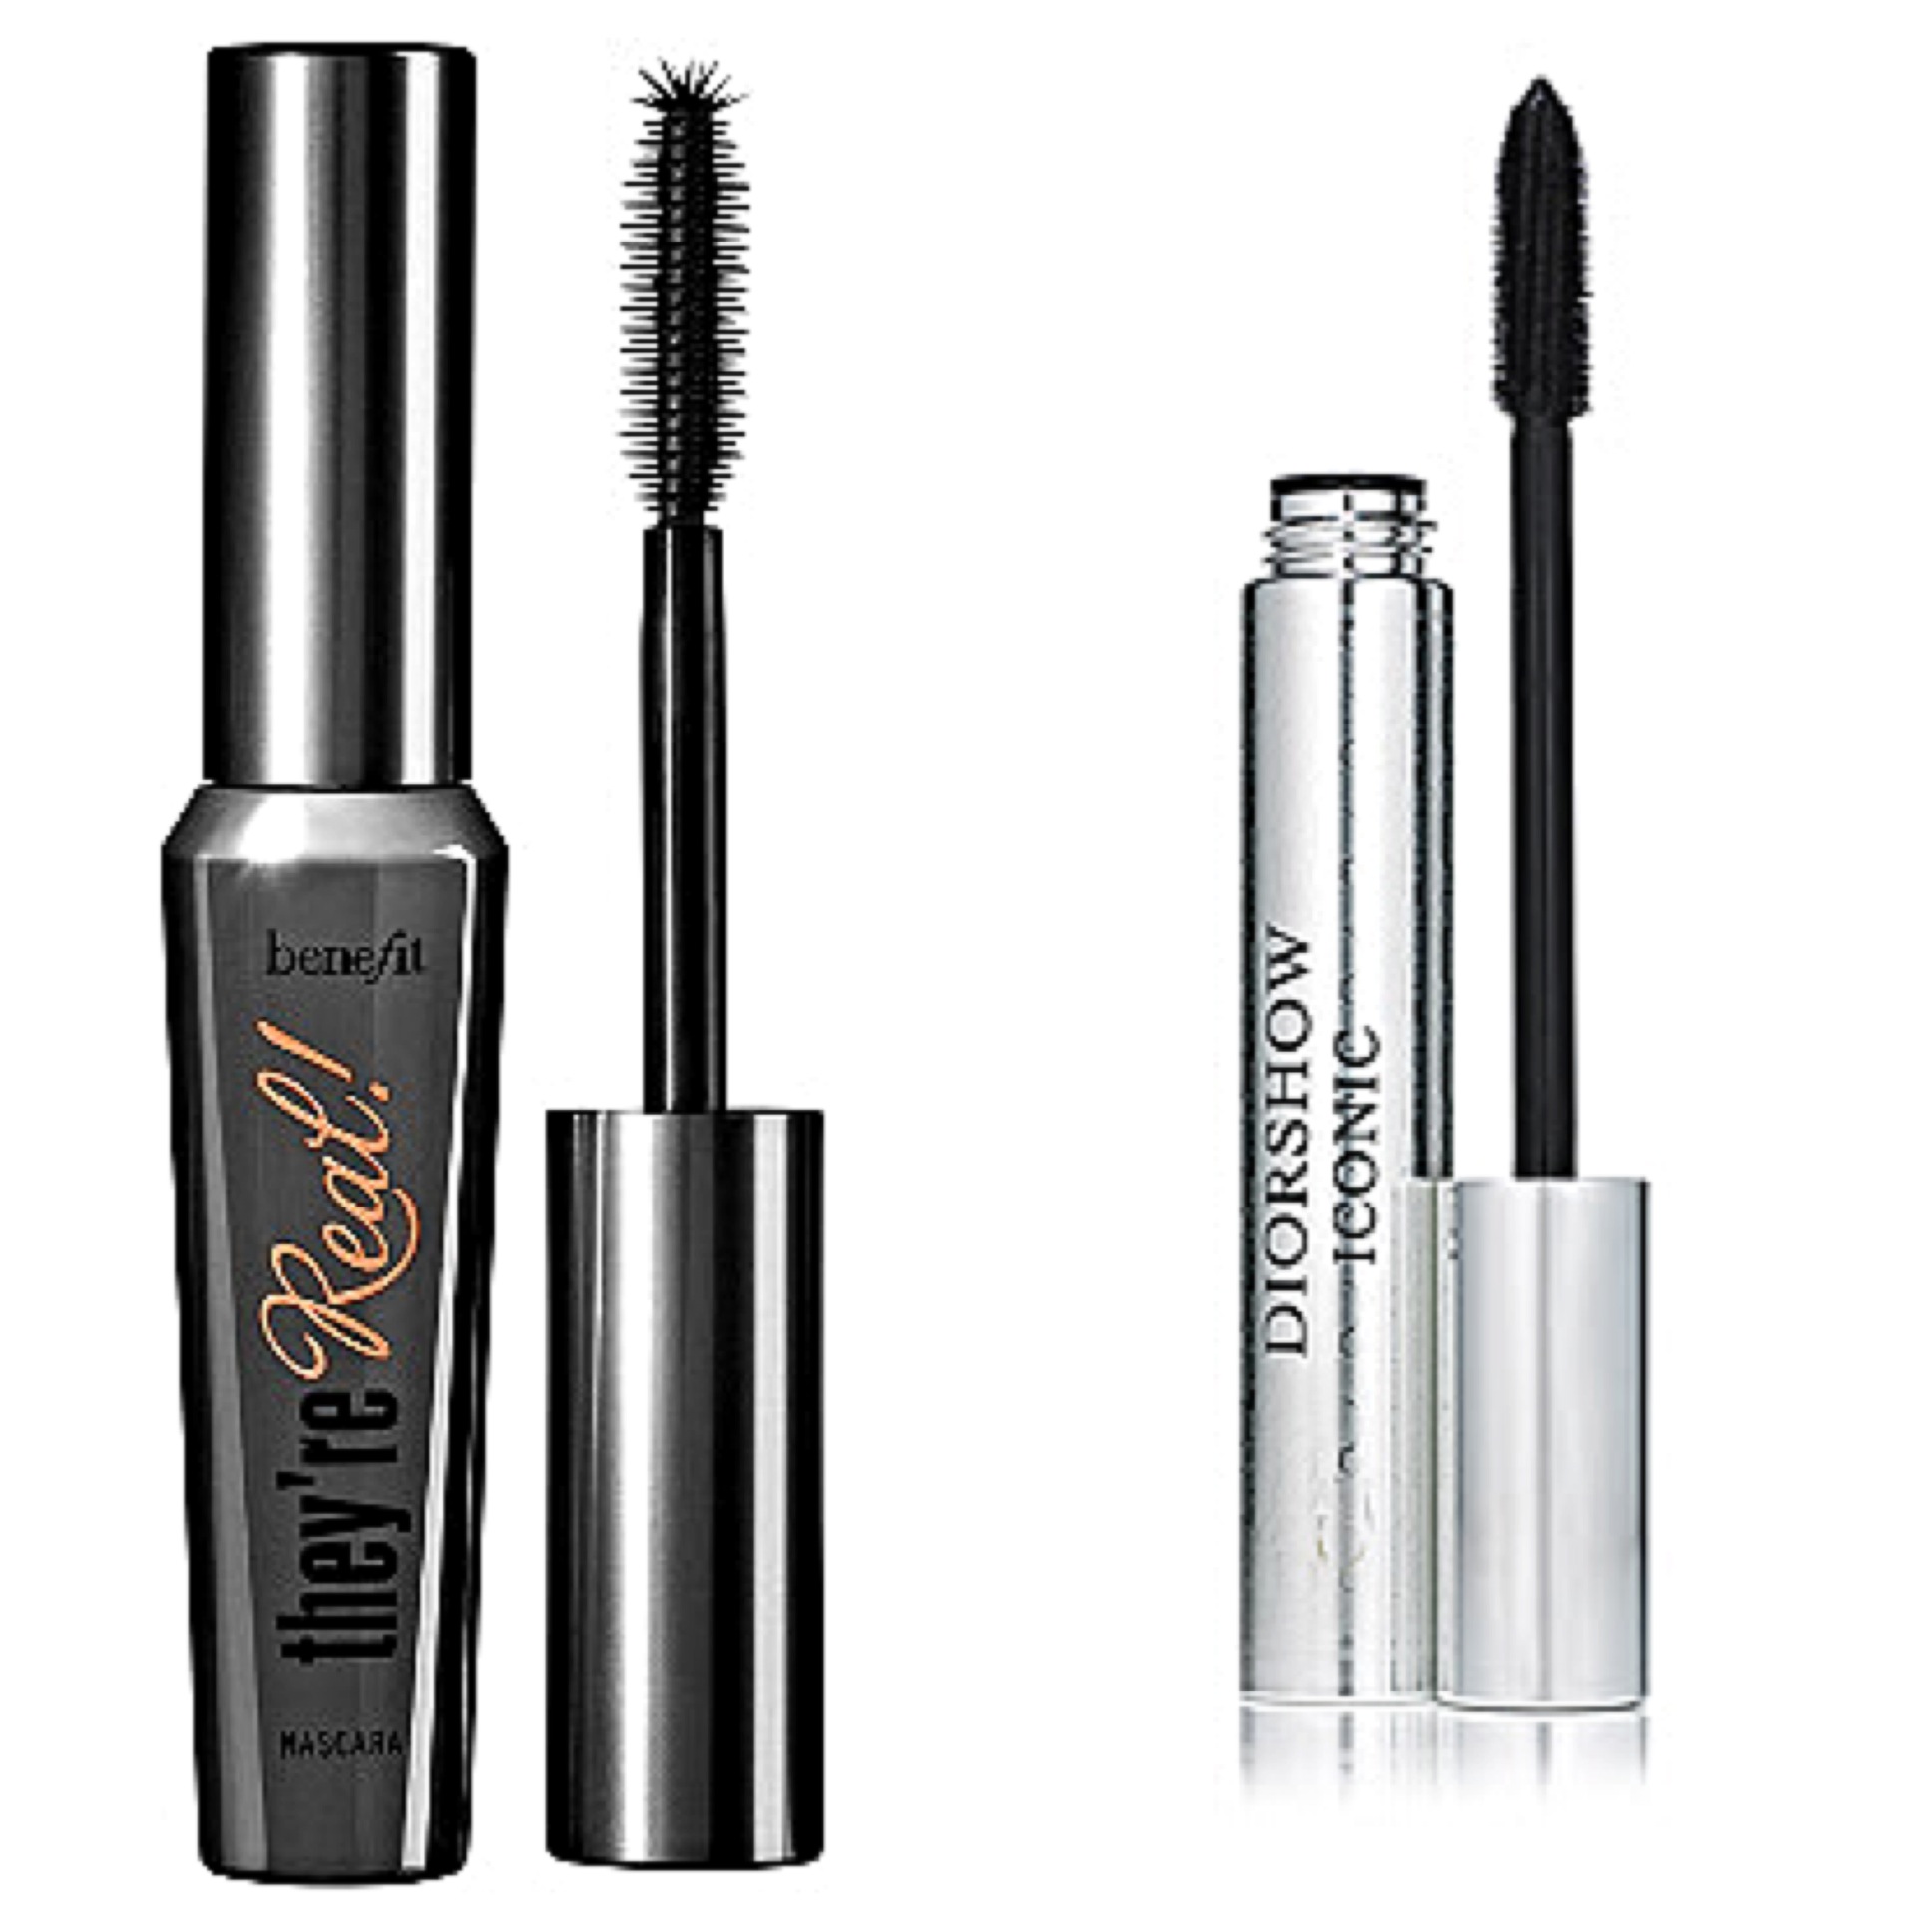
Two great mascaras grfor creating thick lashes – also anti-run, which is a must! Benefits “they’re real” and Dior Show Iconic – both in black
8. Brow pencil. If anyone needed some brow fixing, I used this pencil liner by Chanel called the sculpting eyebrow pencil in blond clair which has a natural look. In other words, no harsh lines that scream ‘hey, I drew this on.’ I used it to buff in any bald or scarce brow areas. I’ve been hesitant with this step on myself in the past but have found if I do it right and use this pencil, it has a natural look and helps fill in my thin brows
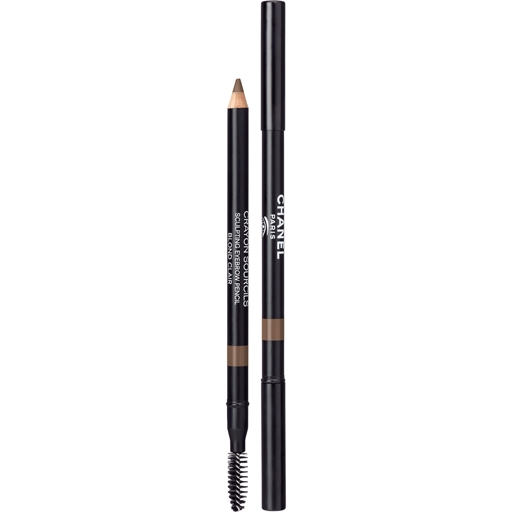
Chanel eyebrow pencil – great for filling in bald spots in the brows, natural color and texture. Handy brush at end of stick to tame any wild brow hairs and blend in the color
9. Bronzer. I used this awesome, soft Bobbi Brown bronzer brush and Bobbi Brown bronzing powder in golden light. Thankfully, it was a good neutral color – not too dark or red and mixed well with each complexion

Bobbi brown bronzer in Golden Light and bronzer brush. Great combo
10. Blush. I love this one by Nars in the color Orgasm (thank you, Jilly Bean for making the introduction). Applied with a Bobbi Brown blush brush
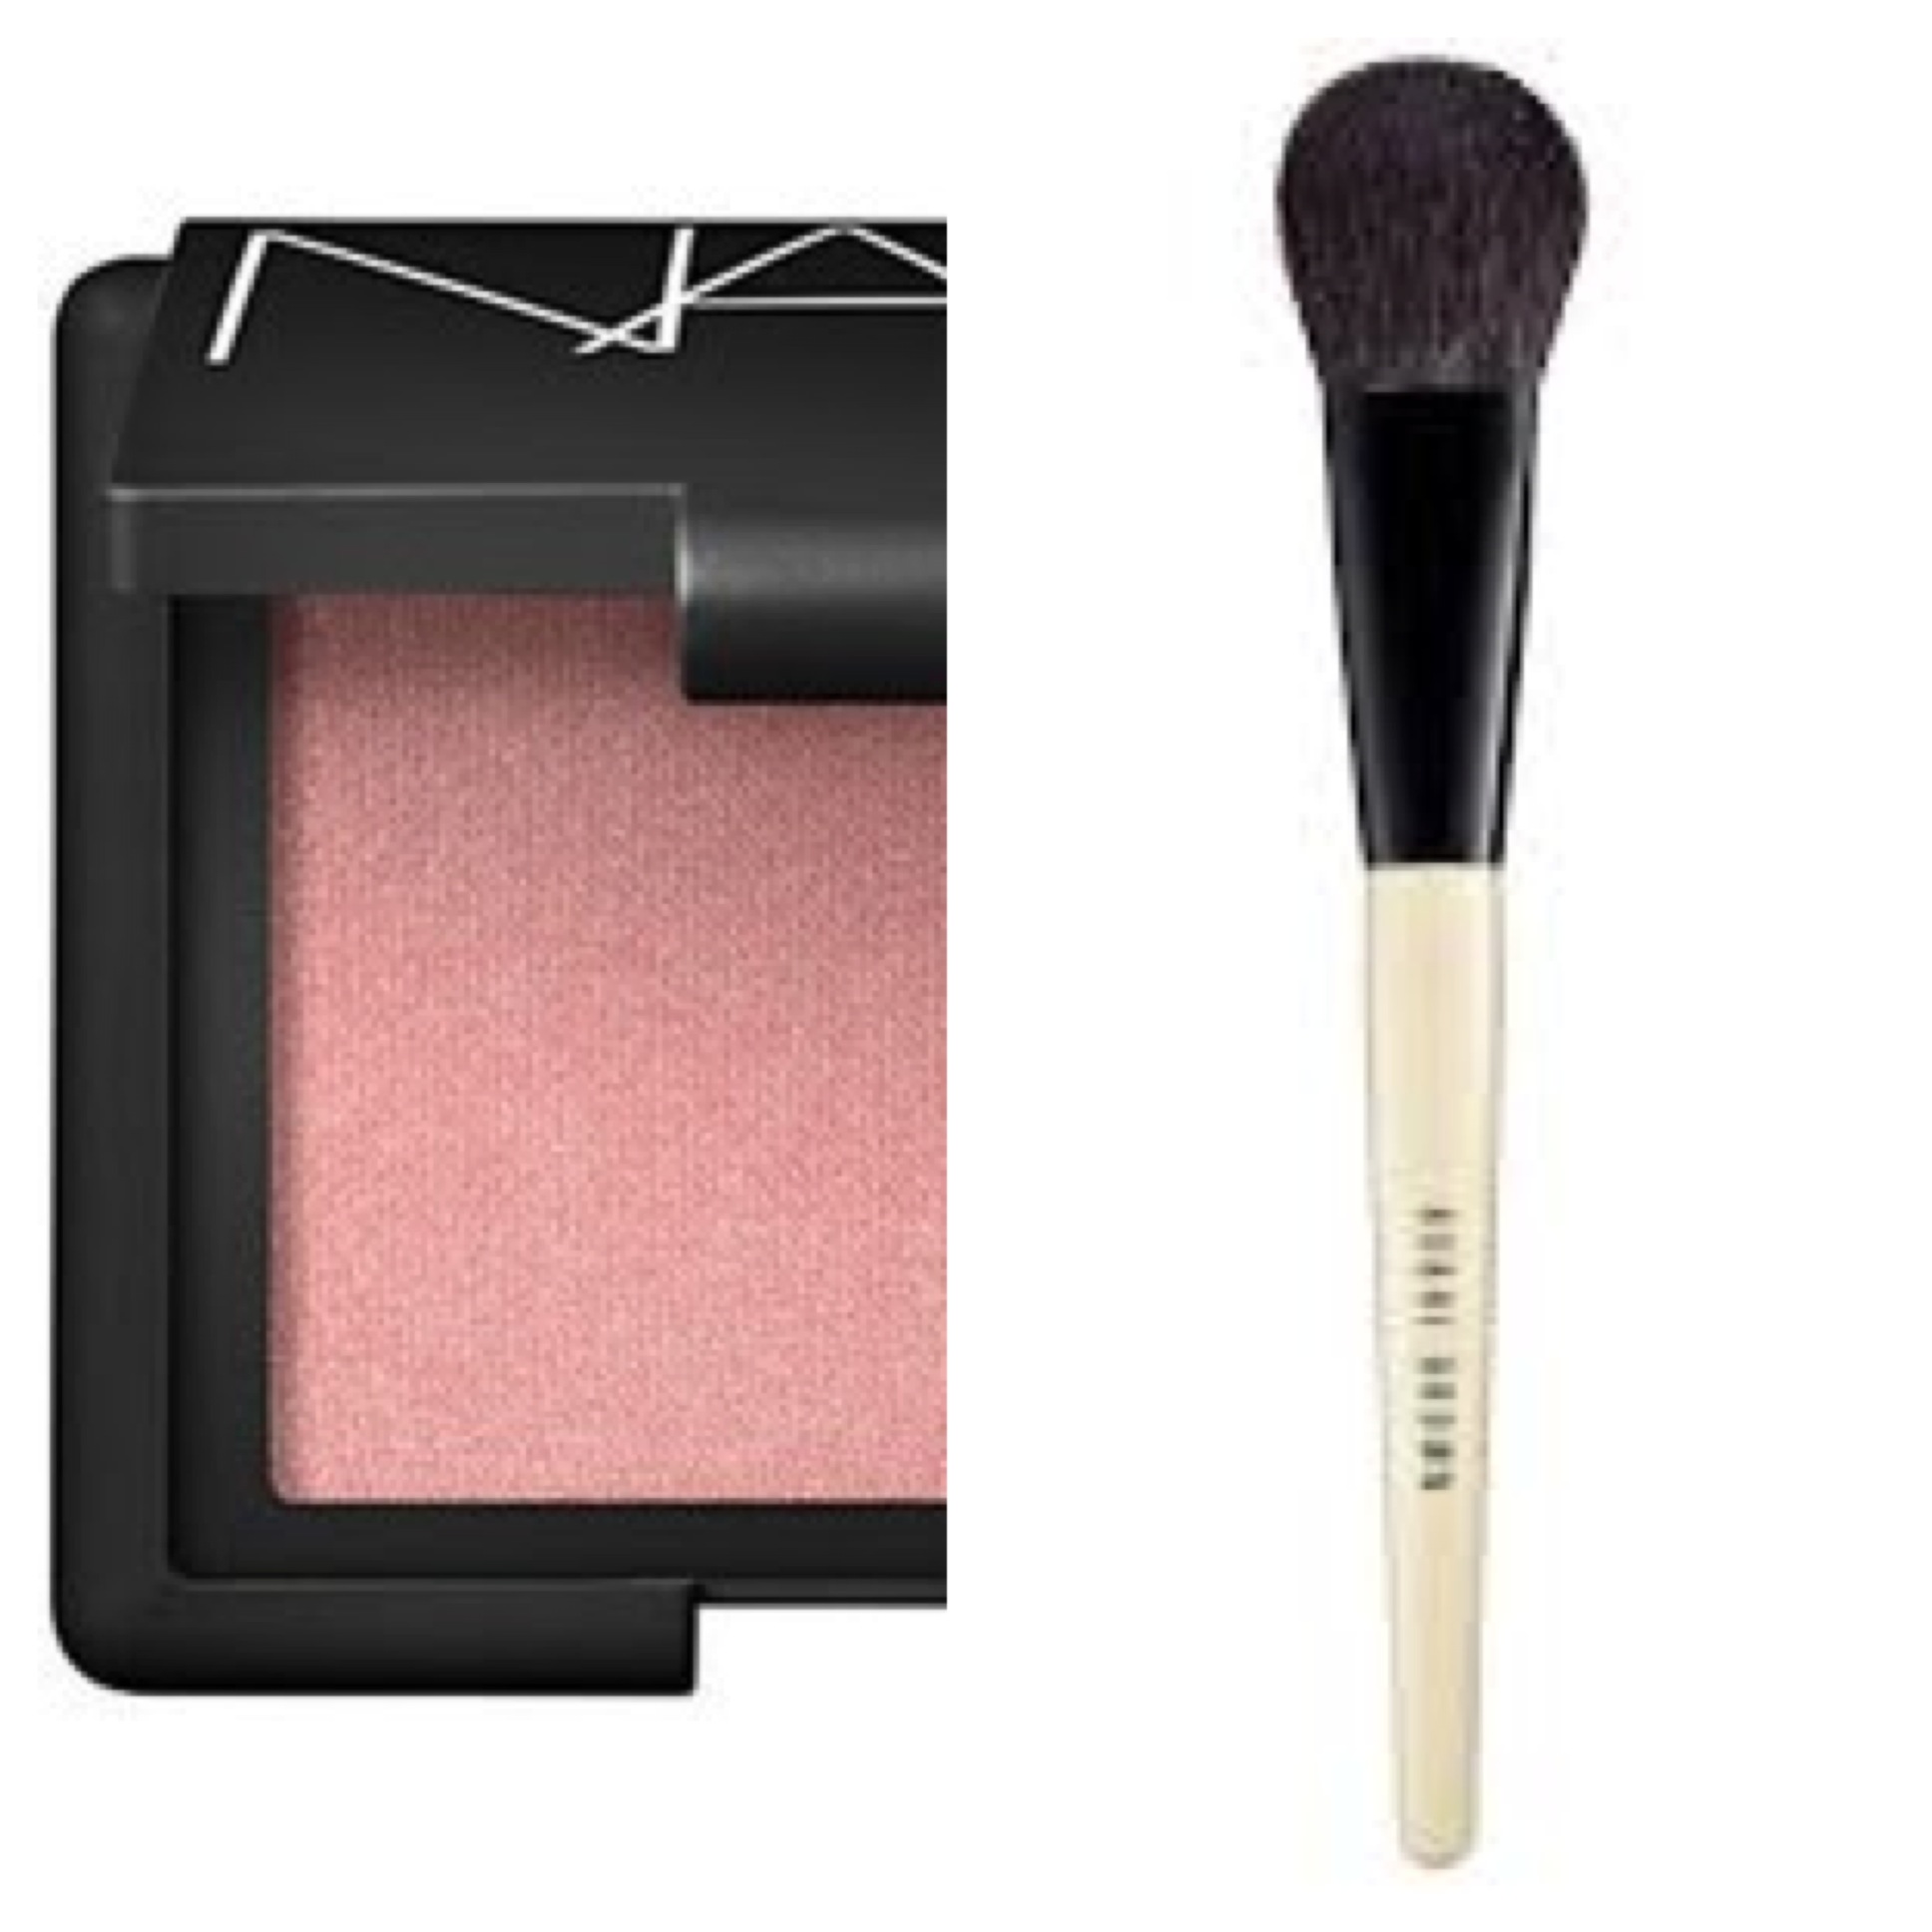
Nars blush in Orgasm – used Bobbi Brown blush brush to apply (can you tell I love Bobbi brushes? so soft)
11. Set it. We used Make Up Forever HD Finishing Powder to set everyone’s makeup using the sheer powder brush by Bobbi Brown. I’ve typically avoided this type of powder out of fear that it’ll be too heavy. But I love the lightness of this powder and have adopted into my routine to beat the excessive greasy glow I get on my forehead! I carry it in my purse because it tends to ramp up at the end of a work day
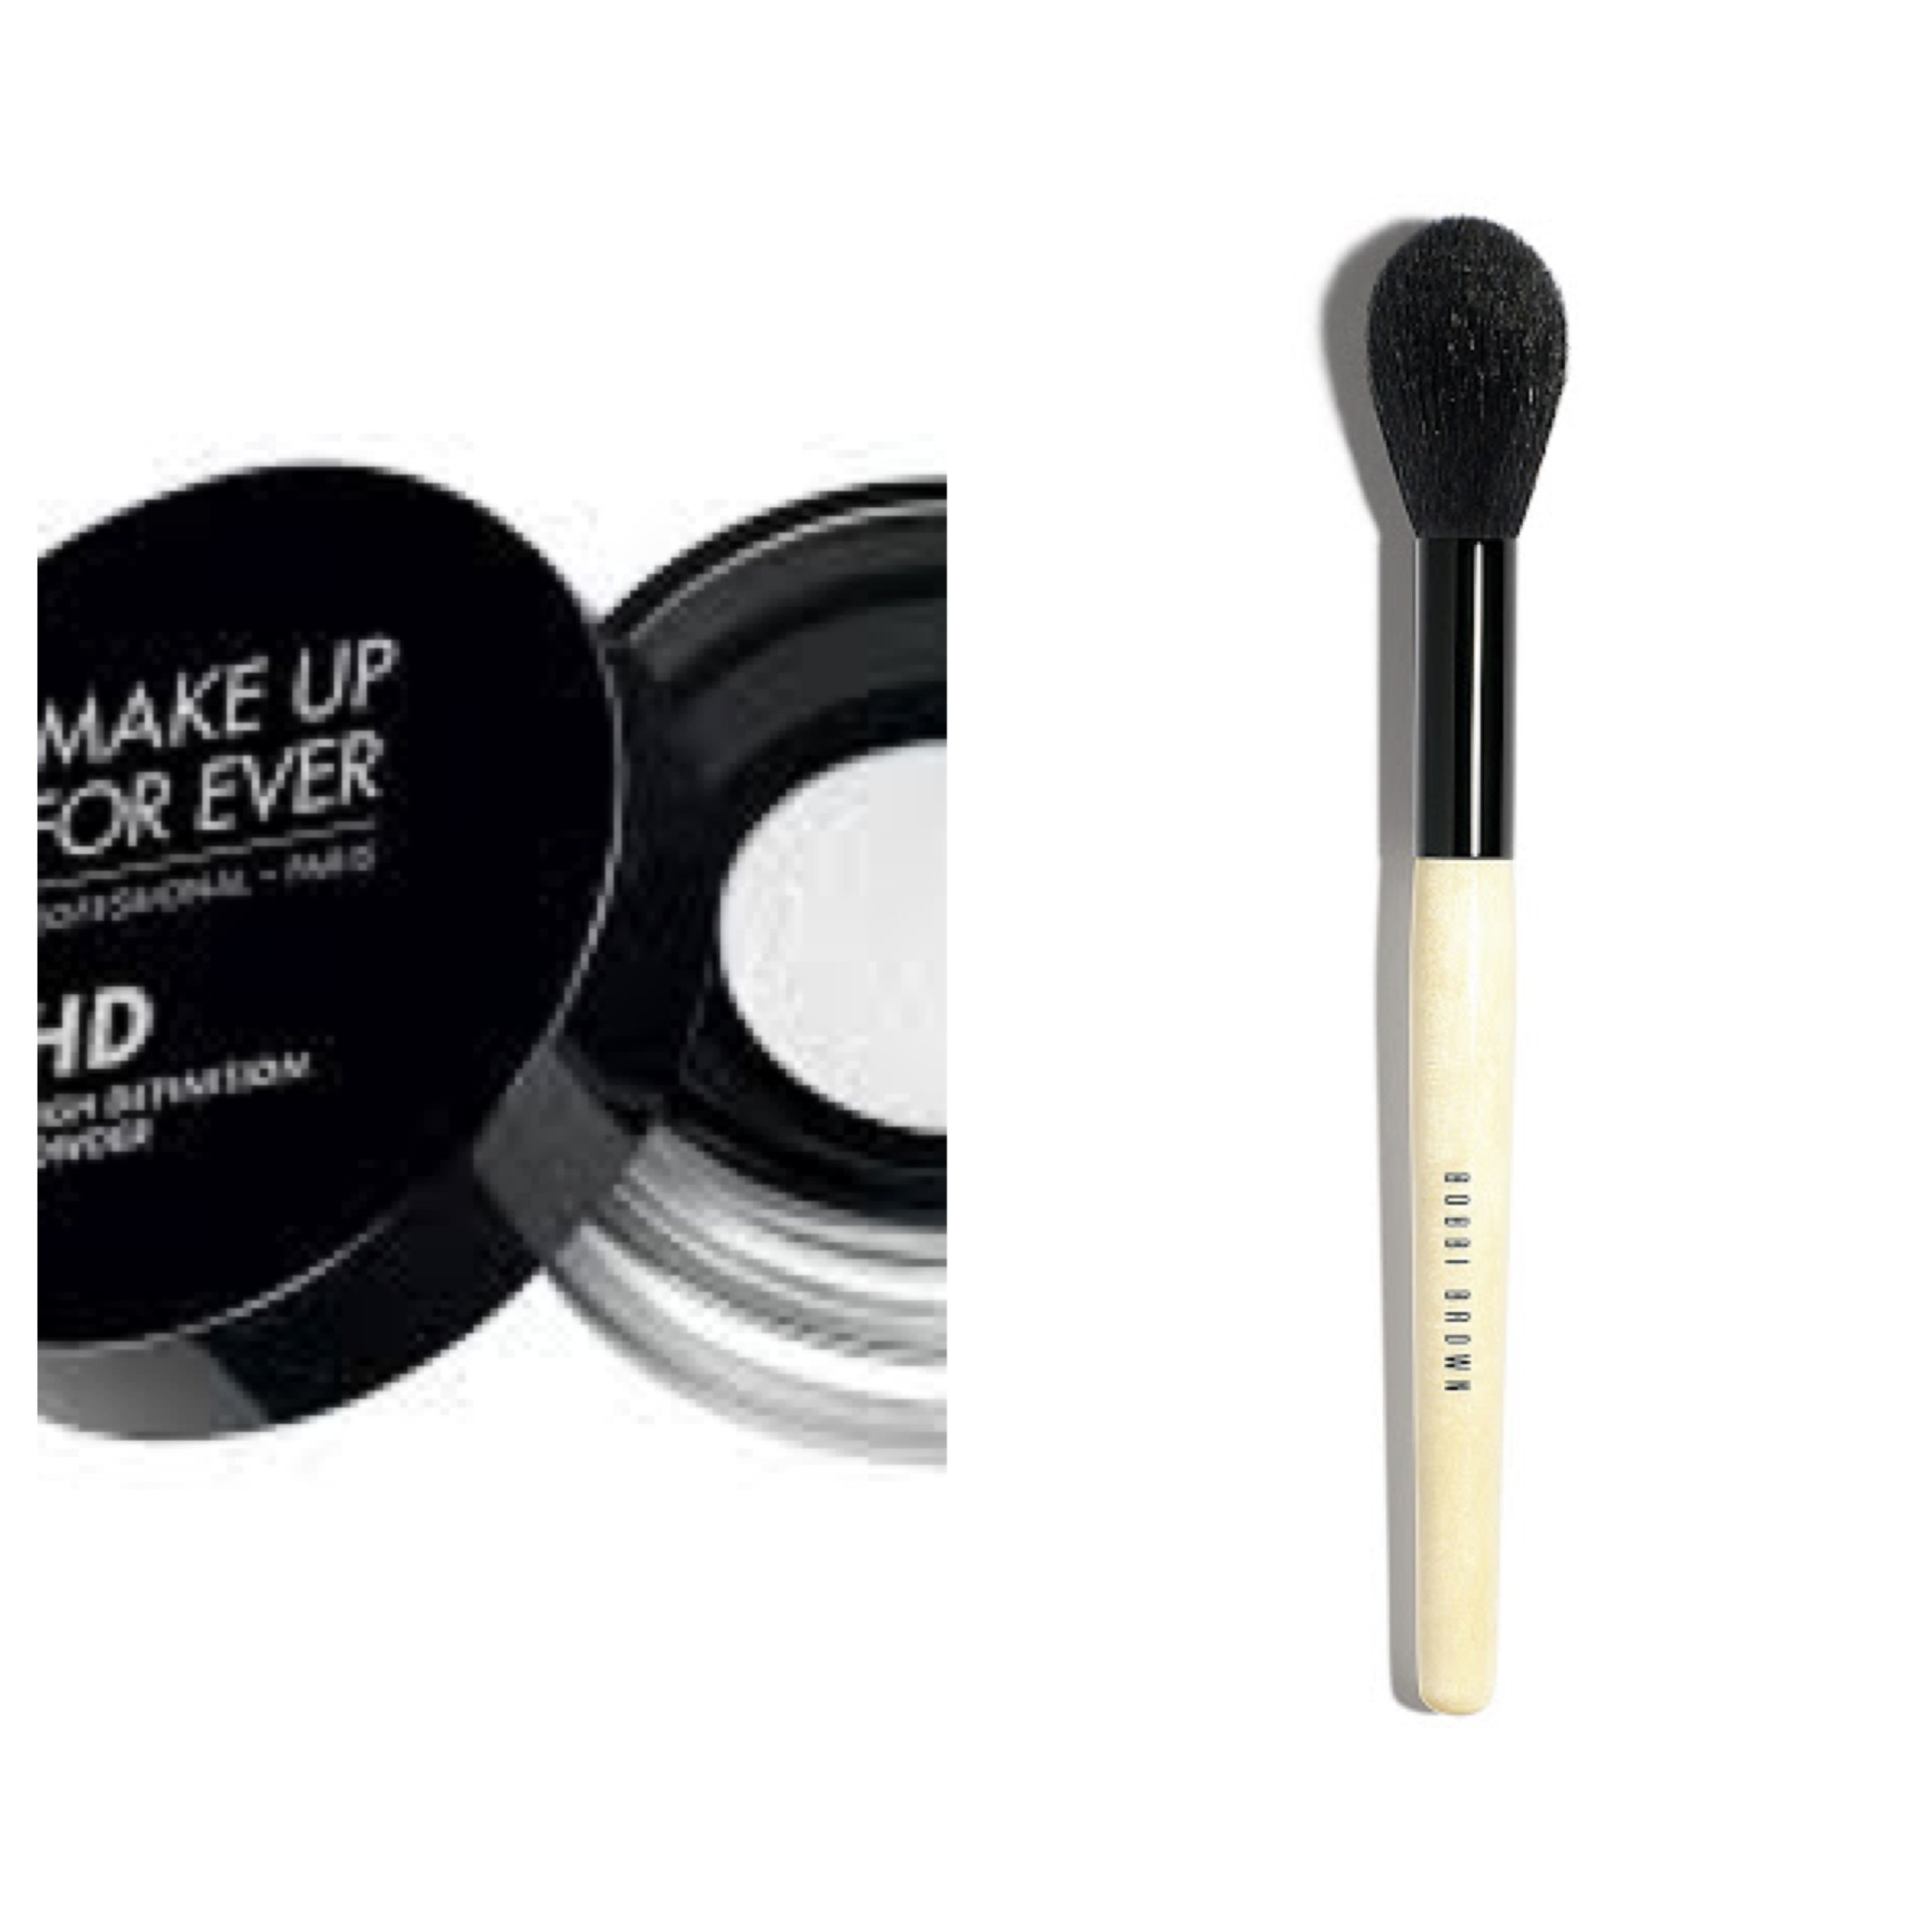
Make Up Forever HD finishing powder – swept on ever so lightly with Bobbi Brown’s sheer powder brush. Set make up and dull down unwanted shine
12. Lastly, lipgloss. I used a combination of this gloss by Sara Happ called The Lip Slip – The One Luxe color shine lip gloss in color ‘The Nude.’ Literally, the perfect nude gloss. On top of this, I put Nars lipgloss in Sweet Revenge. Nice POP of pink color. Looked good on everyone! This is a great combo for glossy lips with a pop of color without getting too dramatic
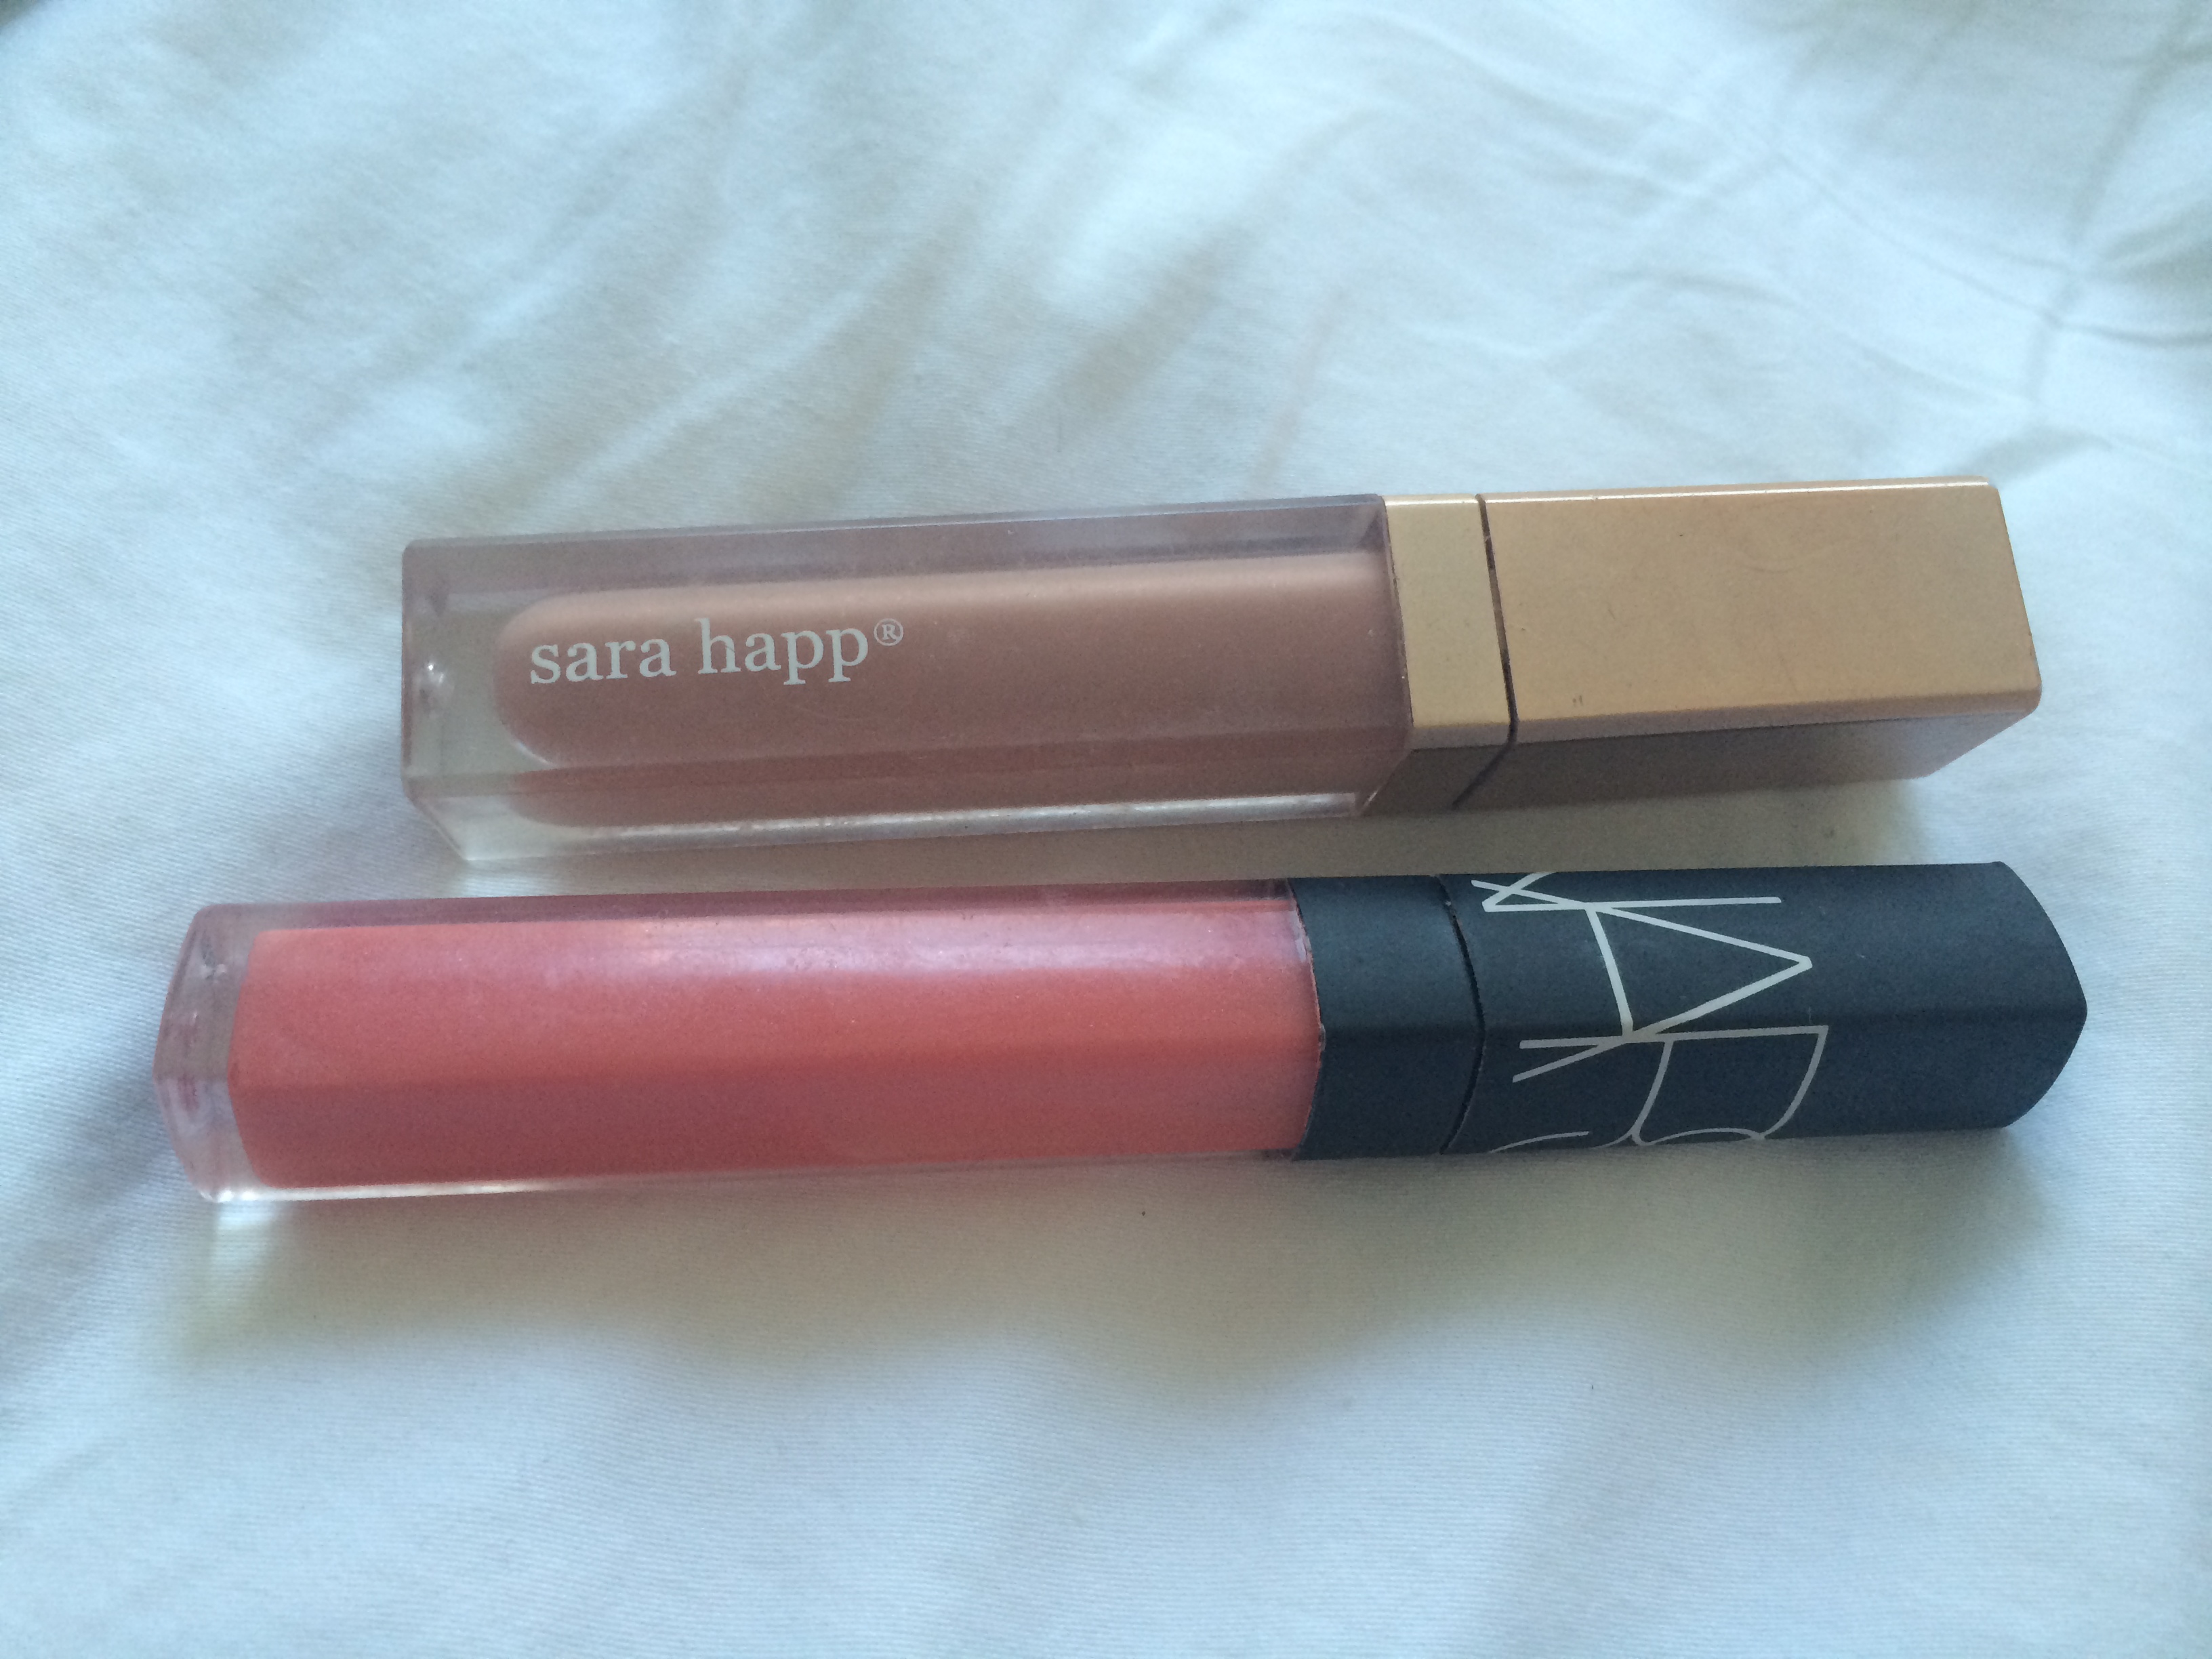
Great gloss combo – Sara Happ nude gloss and Nars lipgloss in Sweet Revenge
Boom. done. Links to all products and brush accessories below.
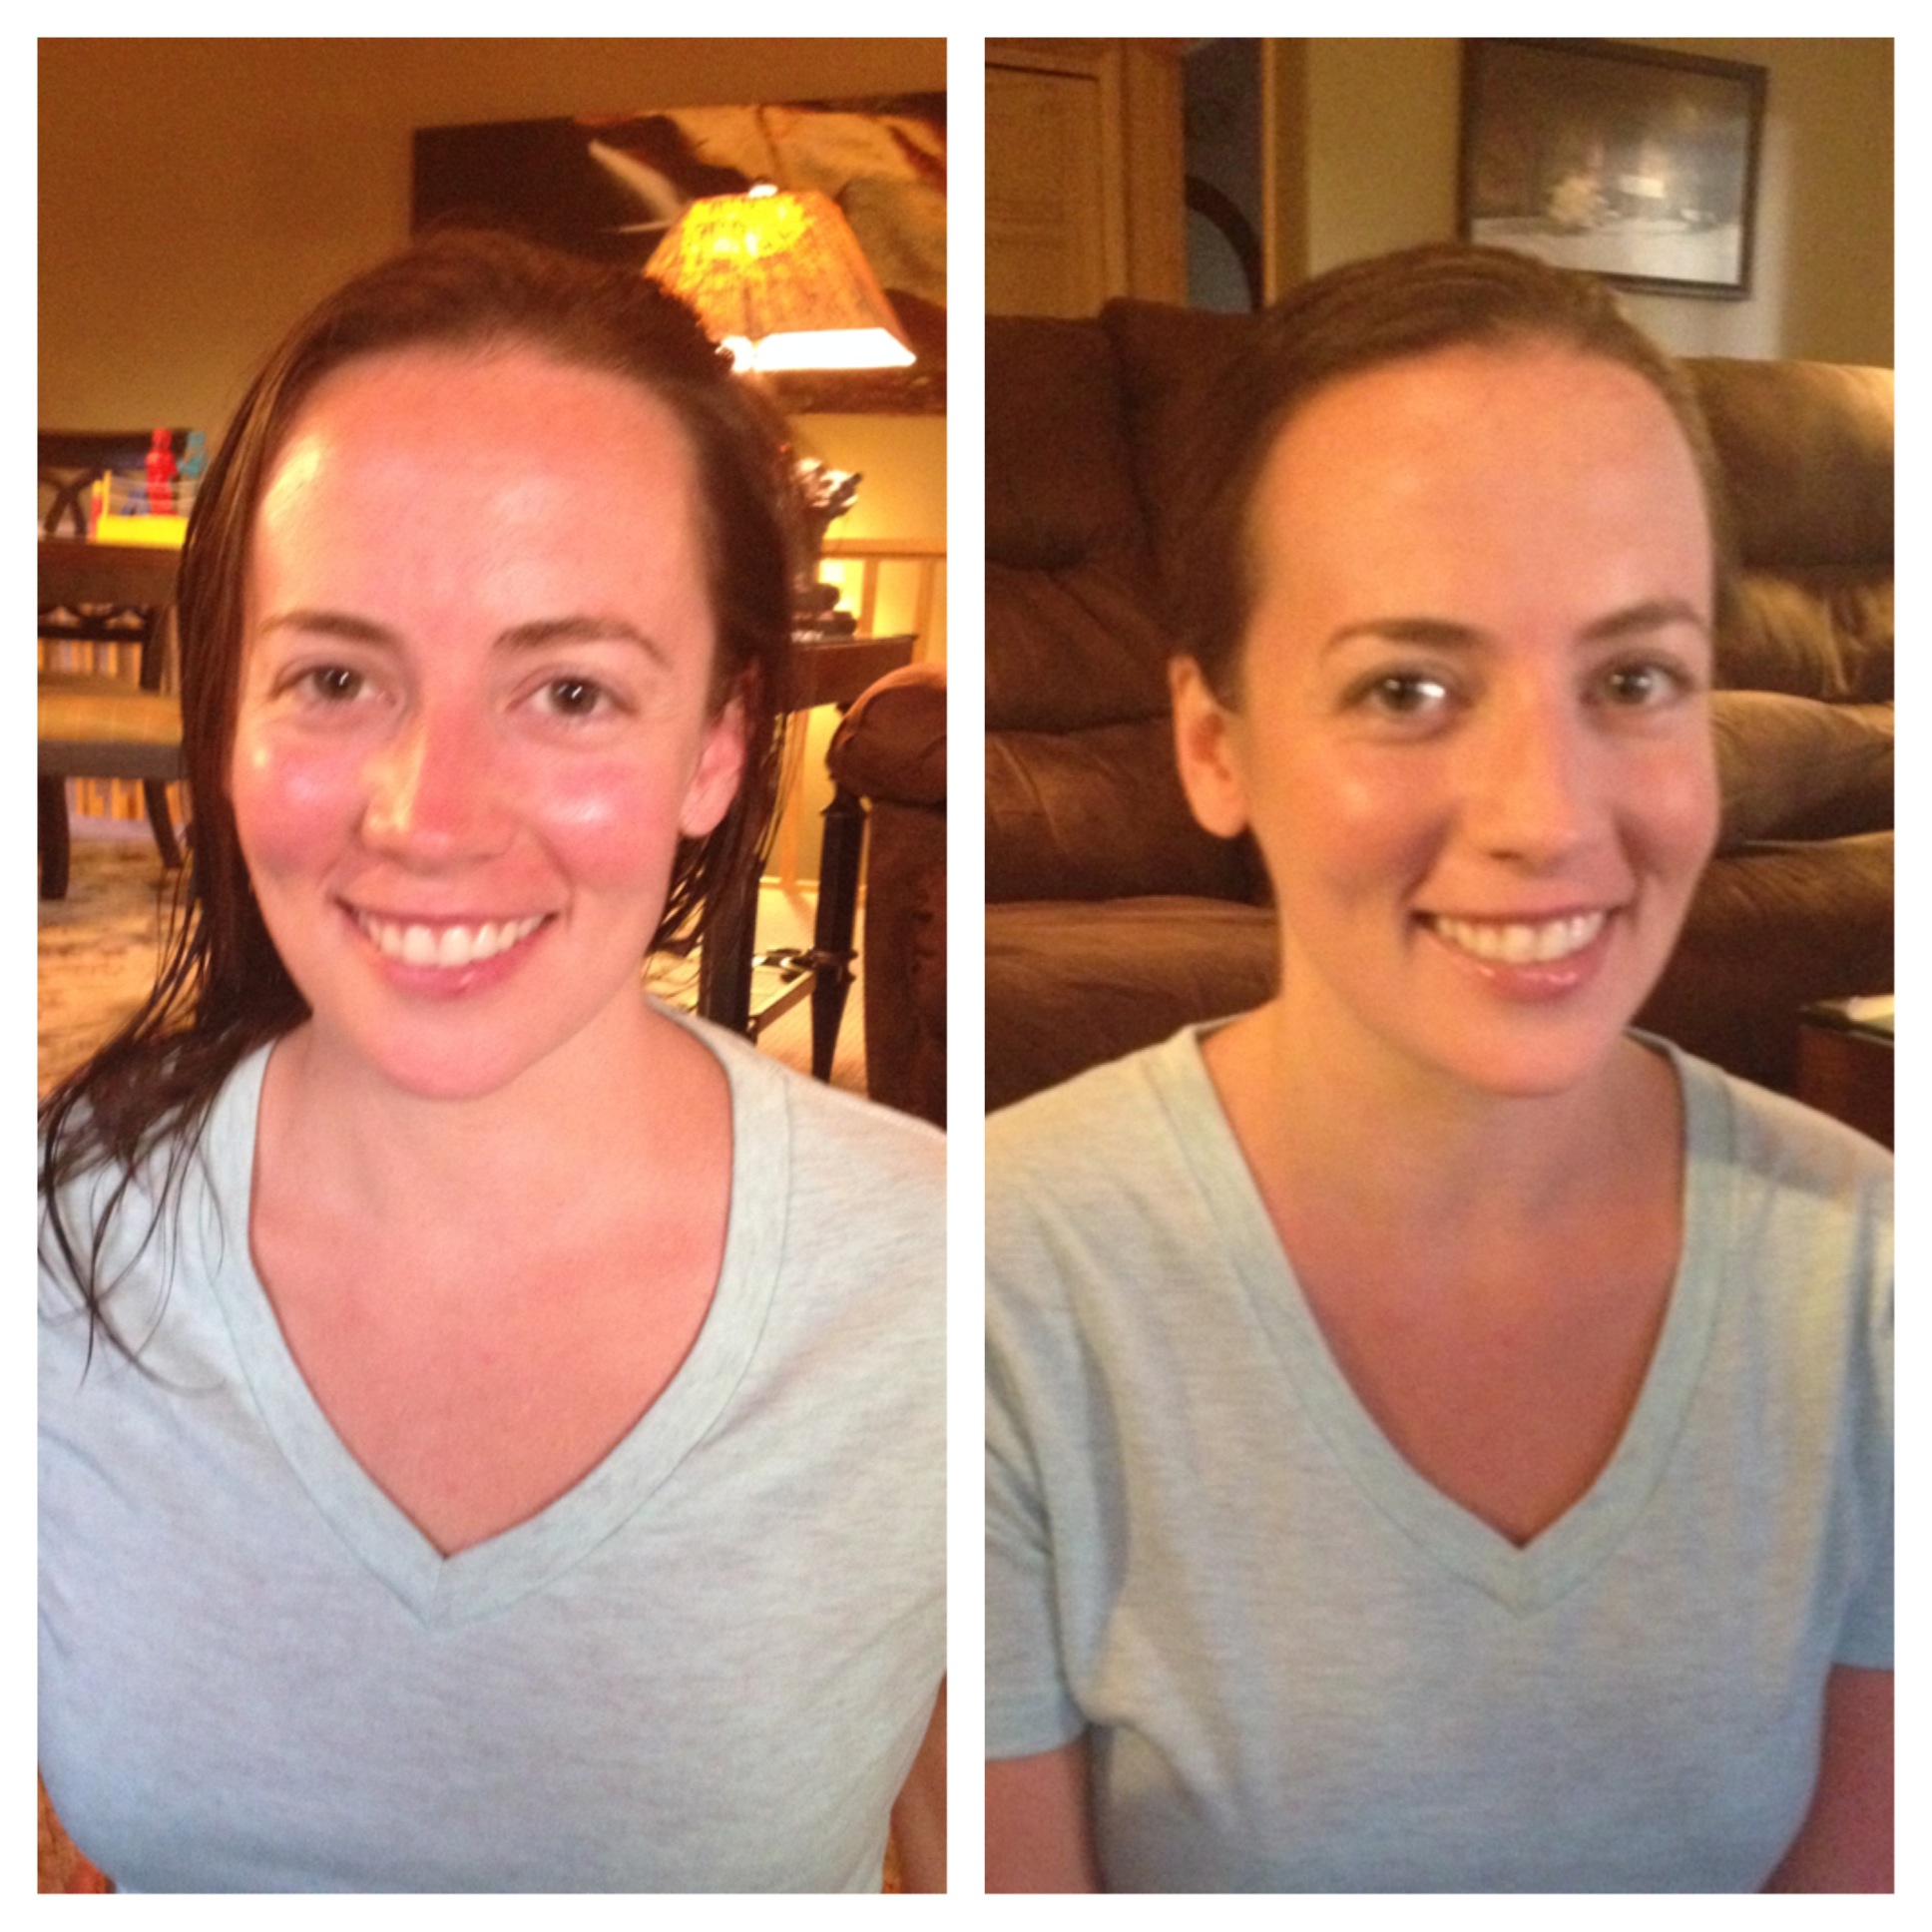
The Before & After shots! Shannon, Jules, Whit, Ashley ❤
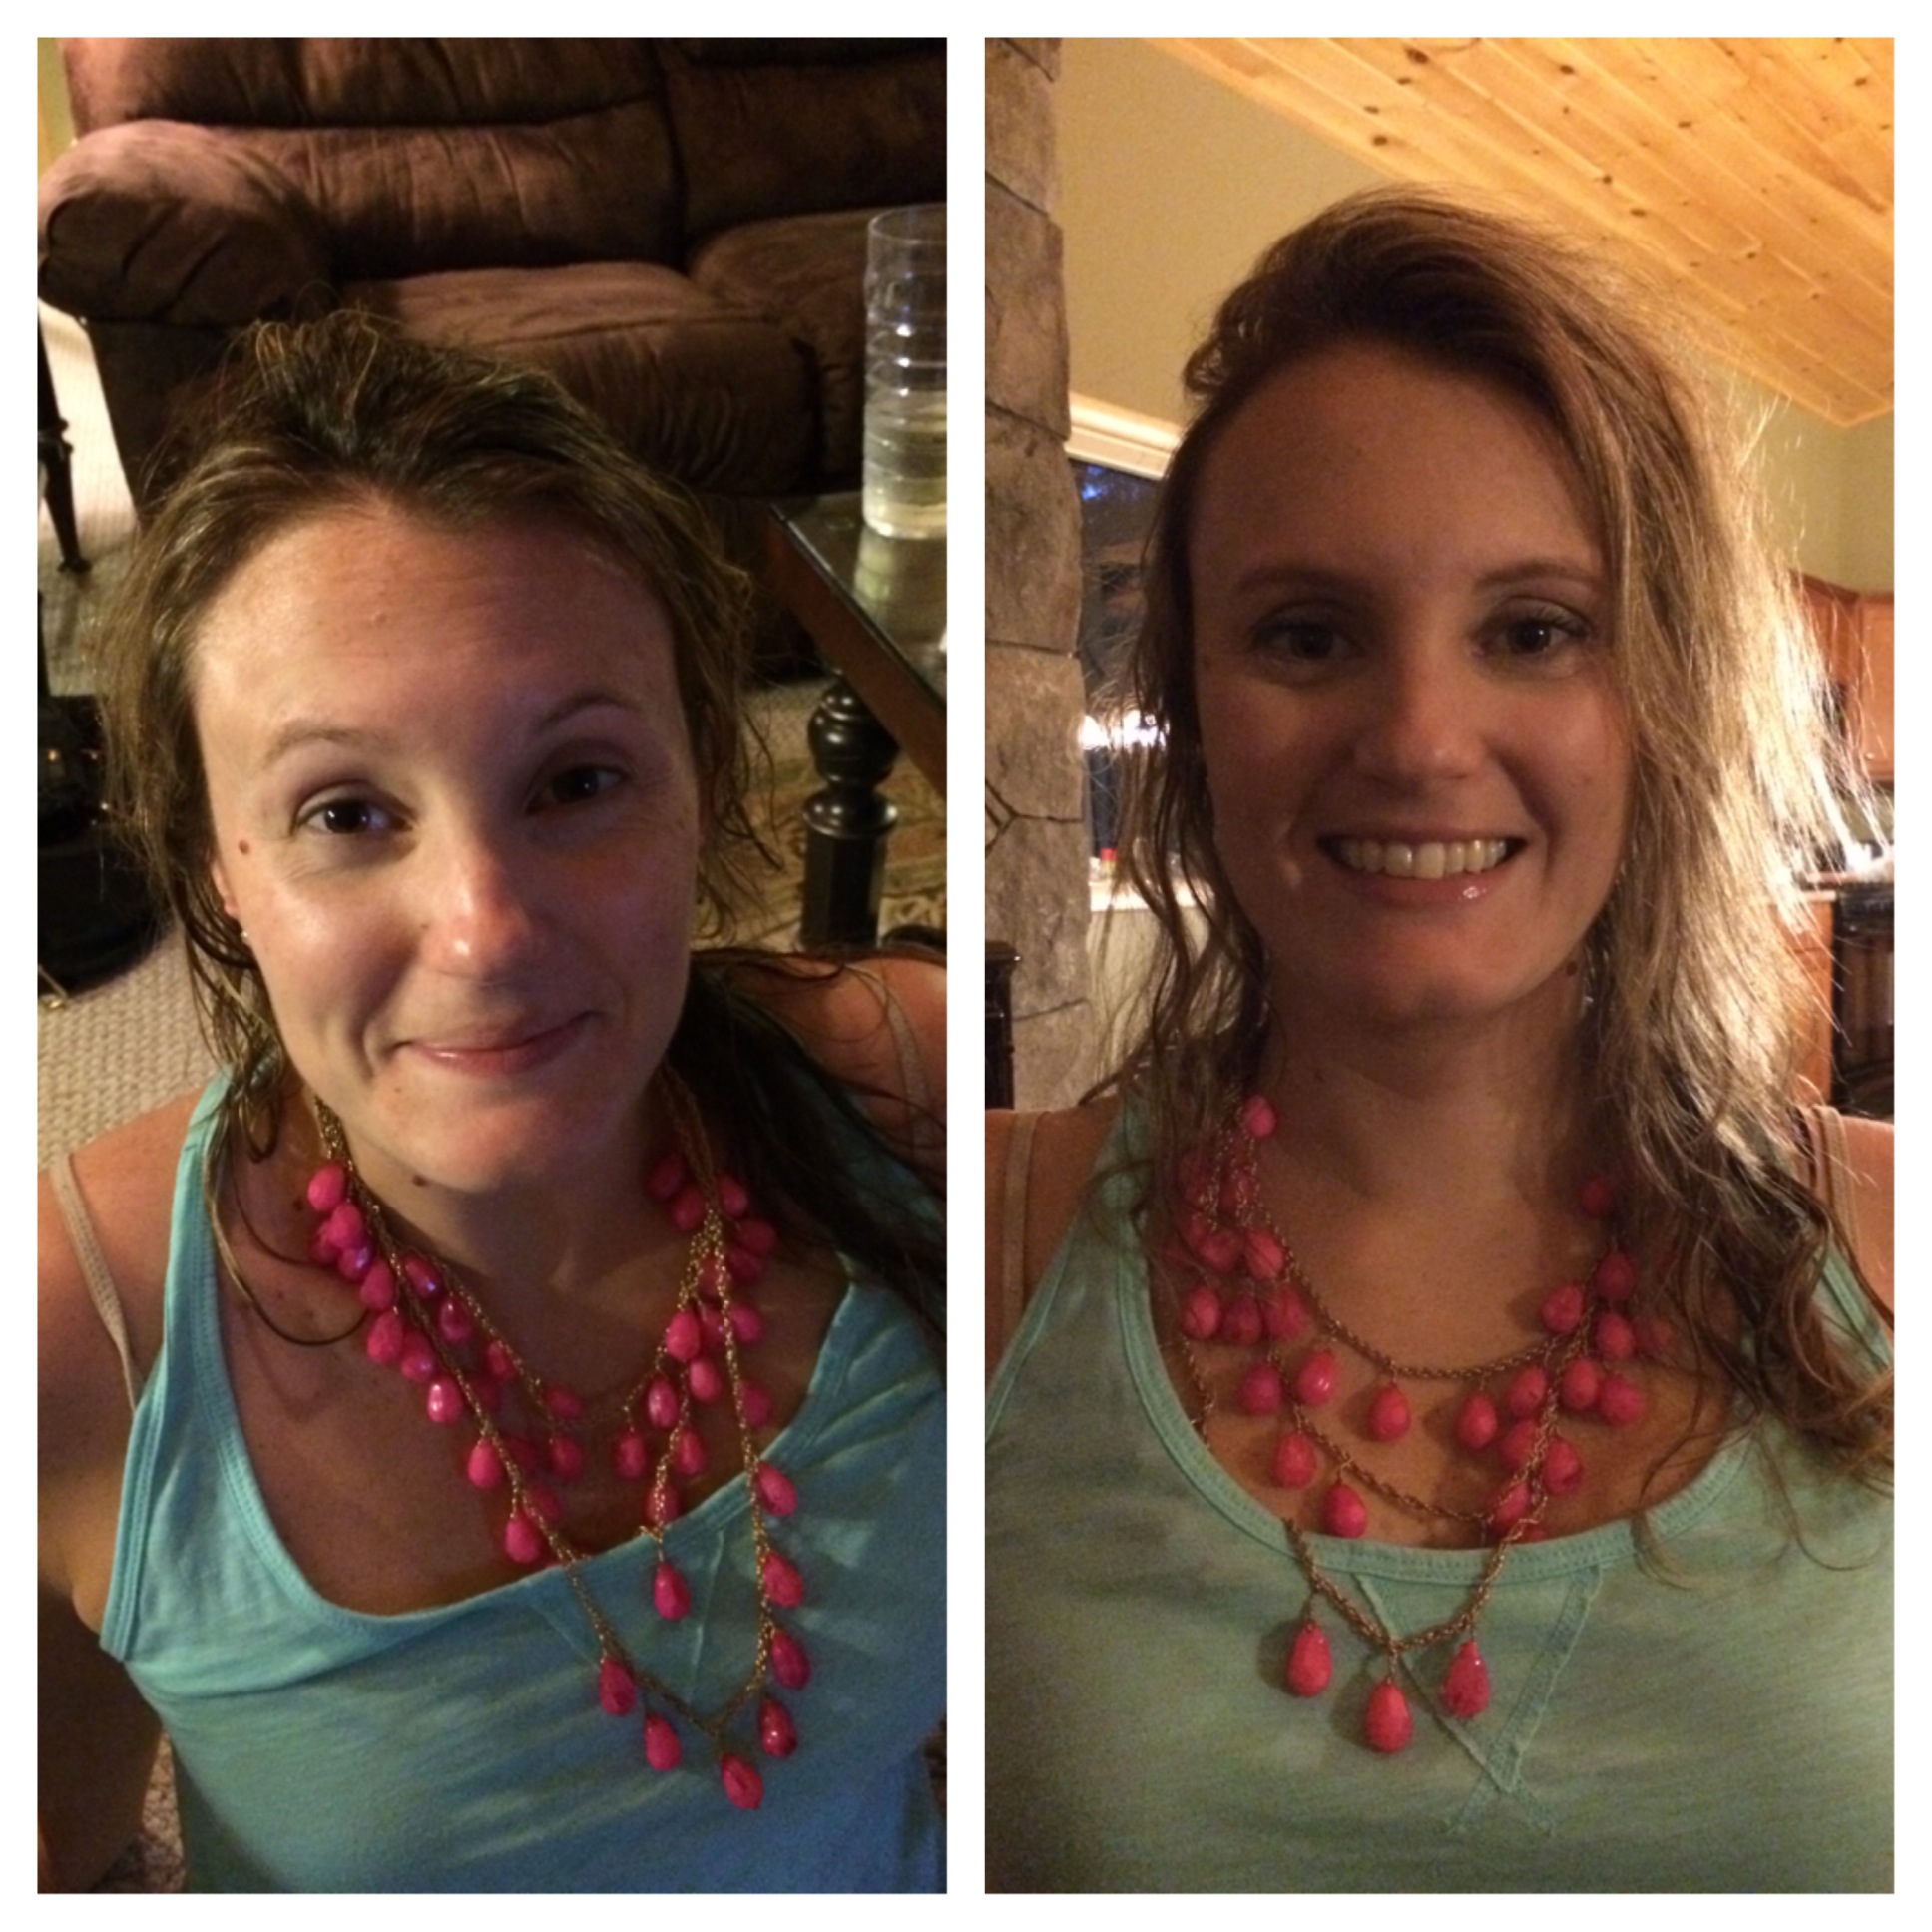
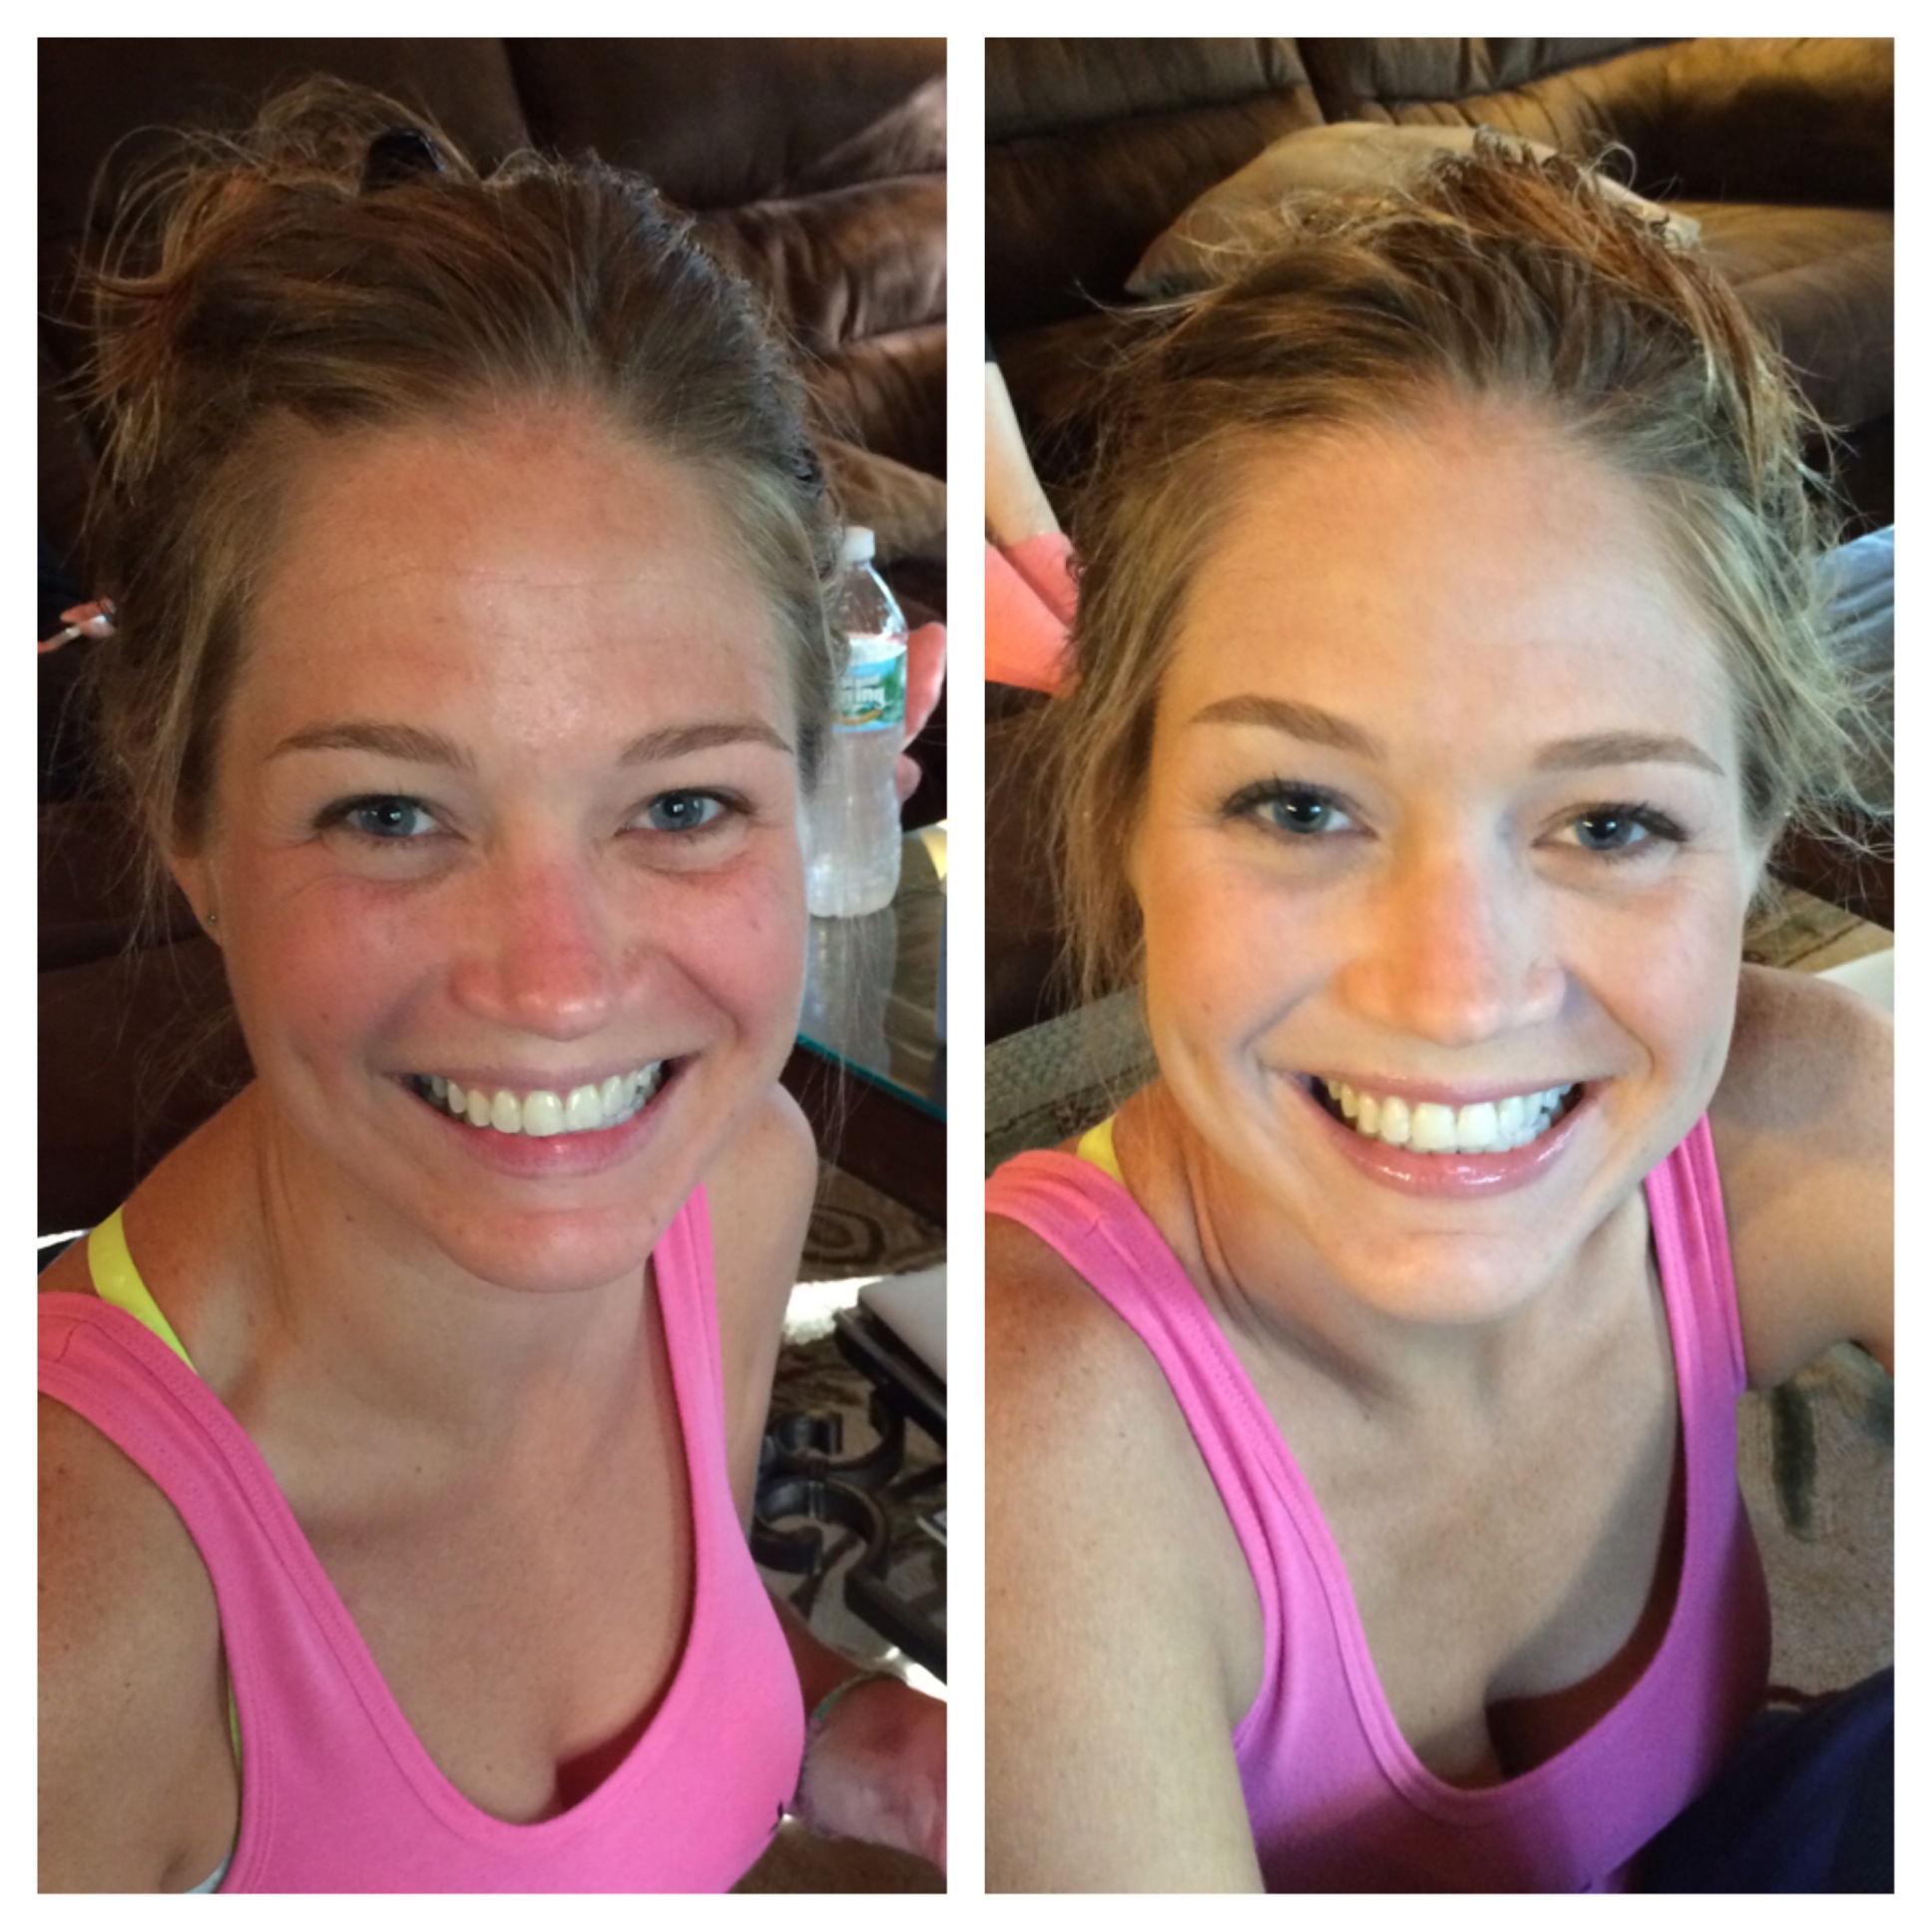

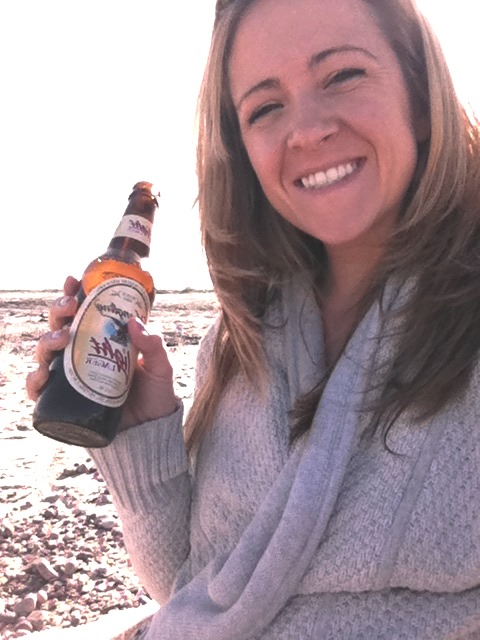
It might seem like a lot of steps but this took all of 5 minutes per girl. It was an everyday look but everyone looked freshened up and ready to head out. We took our makeovers to a locally NH brewery – hooottties!!!
Links below to all products:
1. m-61 hydraboost moisturizer 2. m-61 hydraboost eye cream 3. YSL fusionink foundation 4. Bobbi Brown eye brightener; NARS radiant creamy concealer; Cle de Peau Beaute concealer 5. Sephora eyeshadow palette; Bobbi Brown eye sweep brush 6. Bobbi Brown eyeliner 7. Benefits “they’re real” mascara; Dior Iconic waterproof mascara 8. Chanel eyebrow pencil 9. Bobbi Brown bronzing powder ; Bobbi Brown bronzer brush 10. Nars blush ; Bobbi Brown blush brush 11. Make Up Forever finishing powder; Bobbi Brown sheer powder brush 12. Sara Happ nude lipgloss; Nars lipgloss