It happens from time to time that I need to mix up my workout routine. The reason for this recent “revamp” is that my husband and I are moving to the ‘burbs. That’s right, after 9 years in Boston for me, it’s time to ‘settle down’ up on the South Shore of MA. With the relocation comes the need to find a new place to work out.
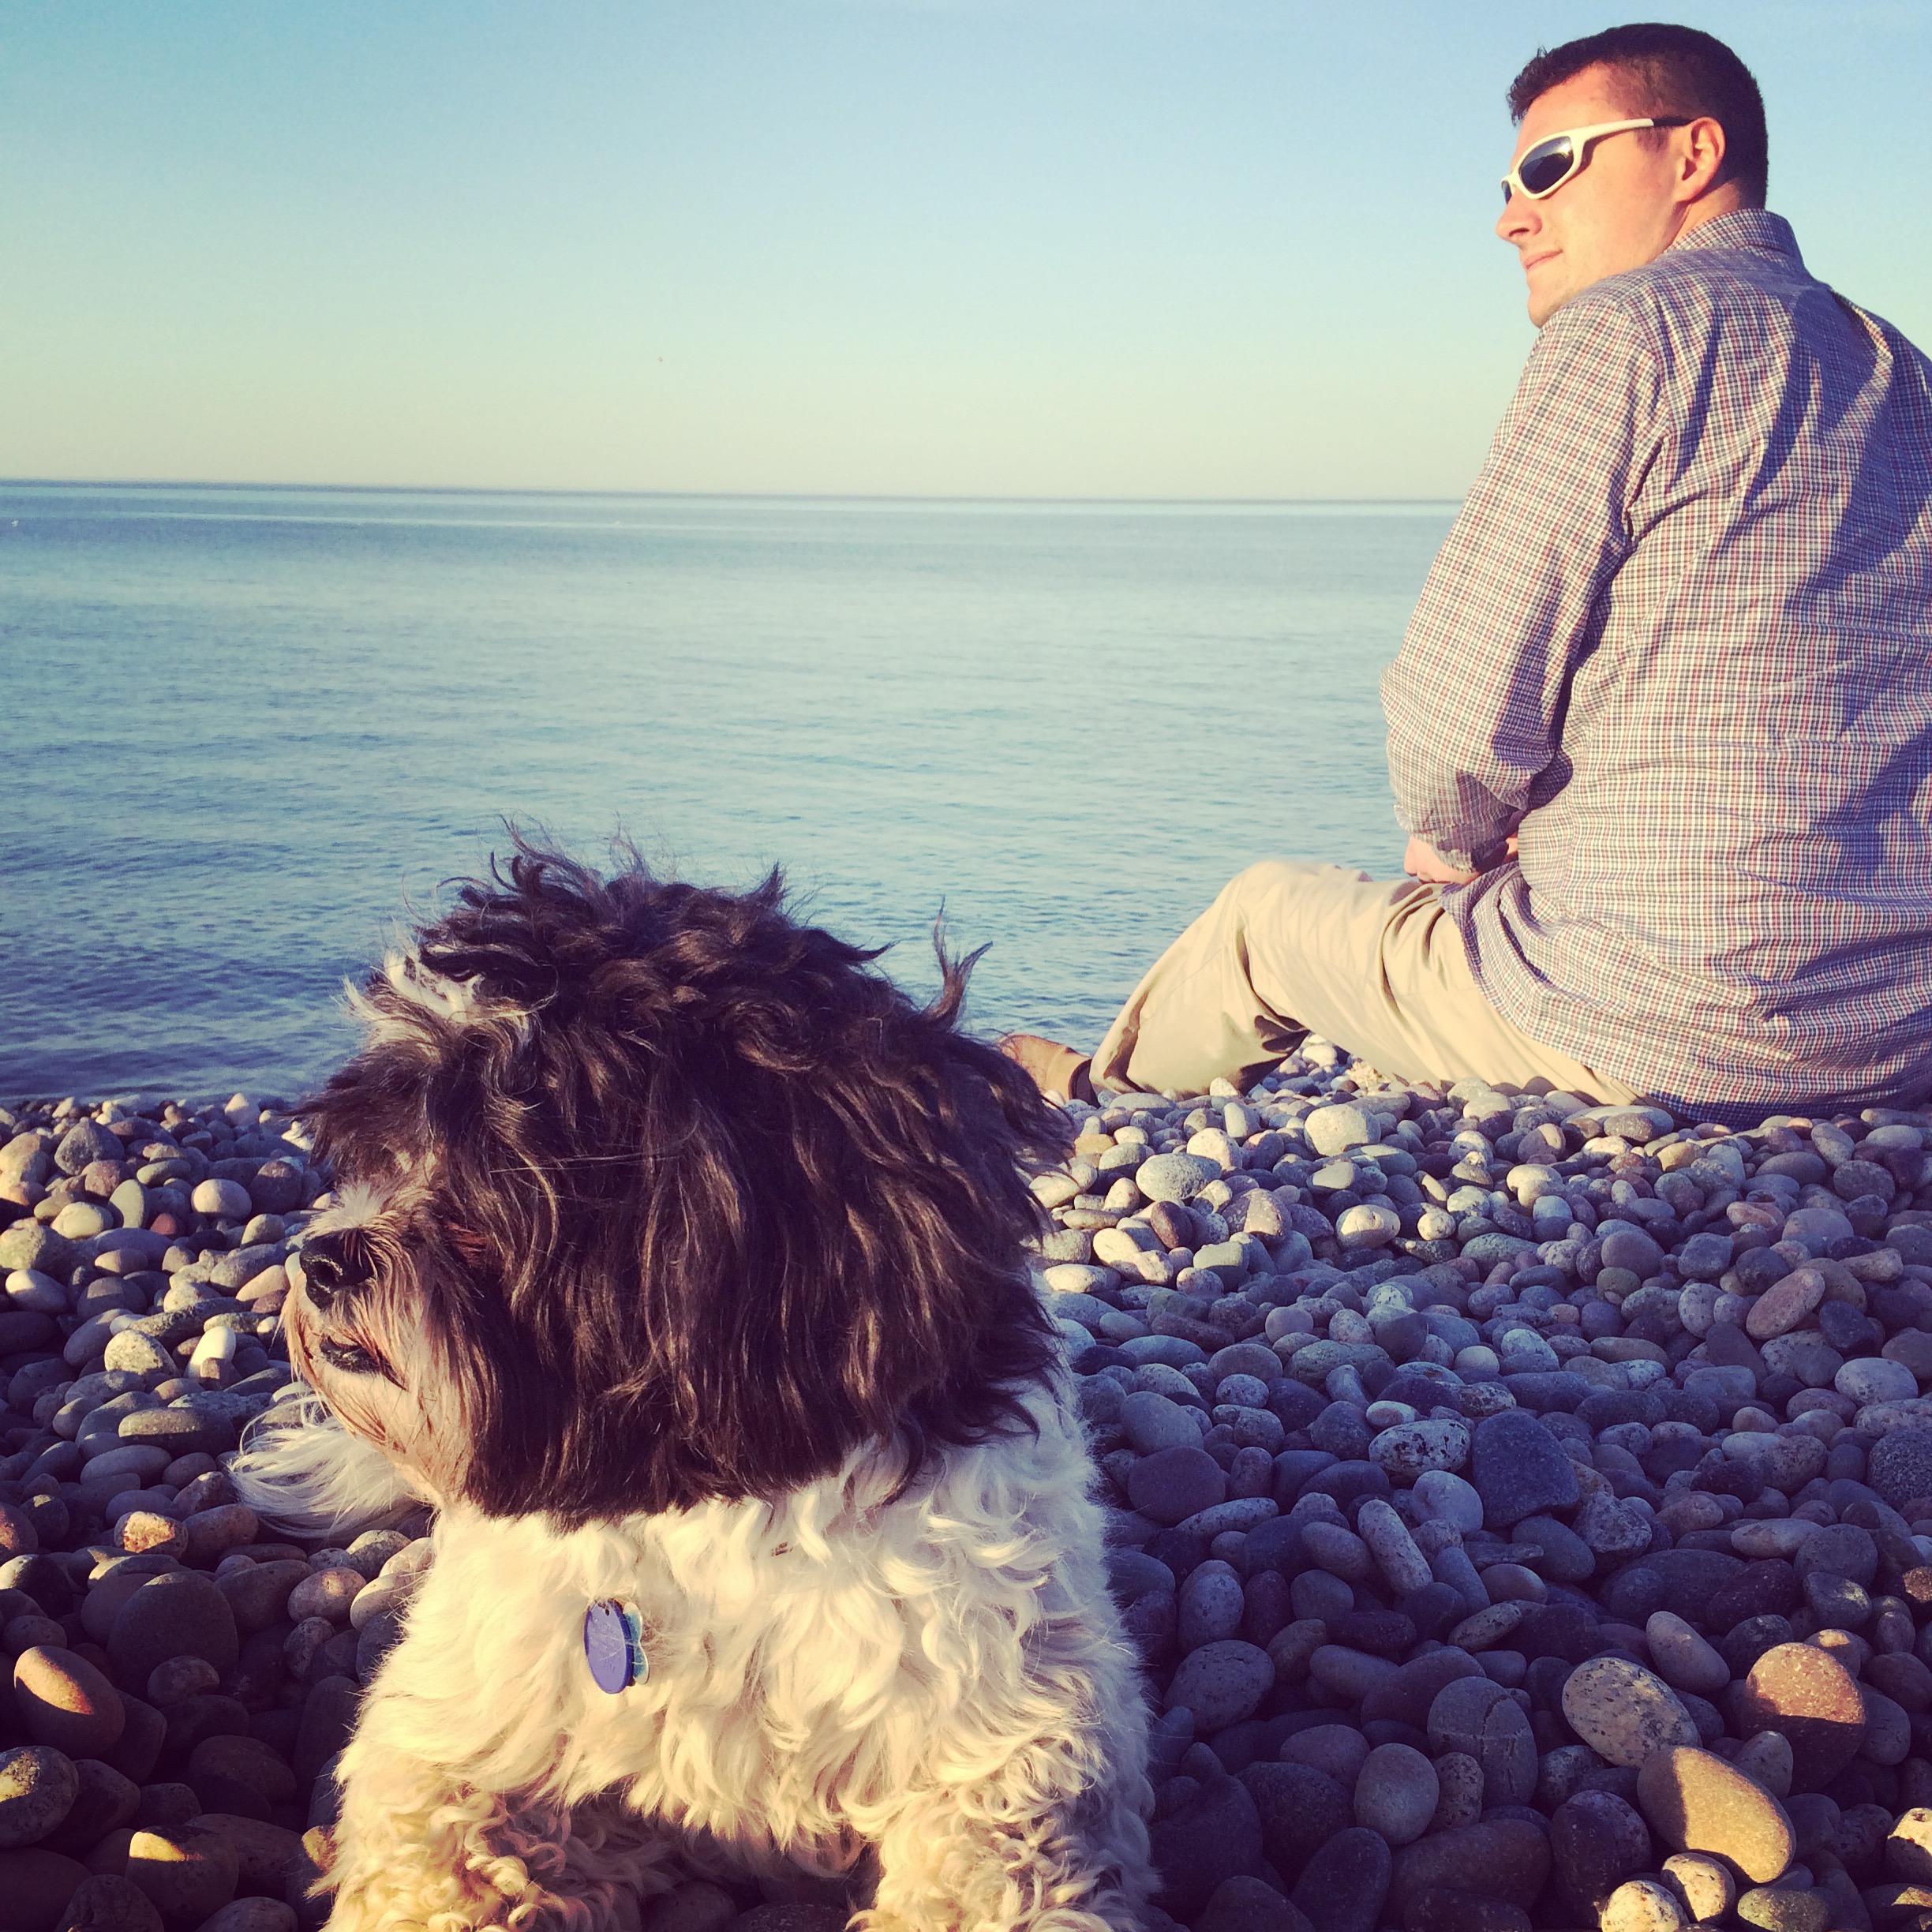
my boys at the beach near our new house
With some hesitation, I entered the doors of CrossFit Bare Cove (in Hingham, MA) last week. I had tried CF once before (this CF will remain nameless, it was in the city) and was literally scared out the door. My friend Robyn and I were offered a free trial class and essentially got our butts whooped. This gym gave off the vibe that – if you didn’t work out here, you’re not in shape…and the trial class felt like the way of proving that. We tried that one time and never went back. #scaredstraight #straightoutthedoor
So, needless to say, I didn’t go into CrossFit Bare Cove with an open mind…
Day 1 – the vibe at CF Bare Cove is different. I signed up for the On Ramp course which consists of 5 intro classes for $50 (reasonable, I think). You’re not thrown into the actual CF classes.* On Ramp is focused on refreshing your understanding of the basics – especially form. At first, I fancied myself ‘too advanced’ for the On Ramp class but admittedly, I’ve benefited greatly by slowing down and reminding myself of good form and truly learning the core CF moves and fundamentals. At the end of each On Ramp class there is a ‘mini’ work out. One day, for example: we did 5 rounds of 10 push presses and 50 single jump ropes for time. Although technically an abbreviated work out, your heart rate is high, sweat is dripping by the end, and you realize a good work out can be squeezed out of 10-15 minutes. #efficiency
*The first Saturday, I was able to participate in an actual class. We started with a group warm up that consisted of a relay-type race using weighted medicine balls. After the warm up (that felt like a real work out, frankly) we moved into the actual work out (“WOD”). There were about 6 lines total, 4 people per line, and we did another relay work out. This one consisted of 3 stations: 10 kettlebell swings (weight based on your preference/ability – but the heavier the better), 25 sit ups, and a rope climb = 1 round. You couldn’t start a station until the person in front of you completed their set. The goal was to complete as many rounds in 30 minutes. I was pushed to the max in this work out. I somehow got myself into the line with a couple of the trainers so our pace was fast. I struggled with the rope climb but tried to hustle through the other stations. There were times I felt guilty that I was slowing the group down but I pushed ahead. I didn’t have time to whine to myself! There was a lot of encouragement among the team that kept everyone motivated. In the end, each team wrote their collective rounds on a white board and it was clear the team I was on tallied the most rounds. It wasn’t a big to-do…more so provided some perspective and certainly feeds into the competitive spirit that CF fosters. Before leaving on Saturday, I was adamant on ‘figuring out’ the rope climb. One of the trainers, Ali, even lent me her shoes thinking that the CrossFit Nano shoes that have a rubberized grip on the outside might help my feet grip the rope better. The shoes certainly helped and I got almost half way up the rope. But seriously, she lent me her shoes – she let me put my sweaty feet in em’. So nice. I left the gym exhausted but pretty damn satisfied with myself. Following this work out, I experienced the worst soreness over the next 3 days. Areas of my body were sore that haven’t been in years like my upper back and back of my thighs. Getting out of bed hurt. But, it actually made me happy! #results #tonethewiggle

my first official CrossFit pic! Just try to find my lil head
I finished out On Ramp at the end of last week. I decided to sign up for a 12 month membership that’s around $189 a month/unlimited classes. Not cheap. CF is notoriously pricey. But, I’ve always felt that – investments in your health are worth it. Although I might have to pull back in other areas (e.g. no daily Starbucks!). As of now, I’m aiming to go 3x during the week and 1x on the weekend.
It’s true what they say about working out…it’s not just physical. It’s mental. It’s spiritual. It gives you another outlet for energy and to derive strength. When I’ve been at the gym, I’ve felt empowered and in control. It takes my mind off of work and day to day stresses (that I often obsess over) and keeps me in the present. It’s also helping me think differently about how I talk to myself. I tend to get the ‘I can’ts’ but this work out pushes you and frankly, I find myself having to push the ‘I can’ts’ aside and just keep trucking.
So yea, I never thought I’d be a CrossFitter. But I am really impressed with the community, Mike, the owner of CF Bare Cove (and also CF SciCo!) has built. My body might be tired but my mind and spirit is feeling really good. I’ll keep you updated on my progress.
Have you tried or do you do CF? What do you think?
Let me know if you have any questions for me if you’re considering trying CF for the 1st time!
Last thing – sharing my (current) fave song for #fitspiration– vids a bit sexual #enjoy